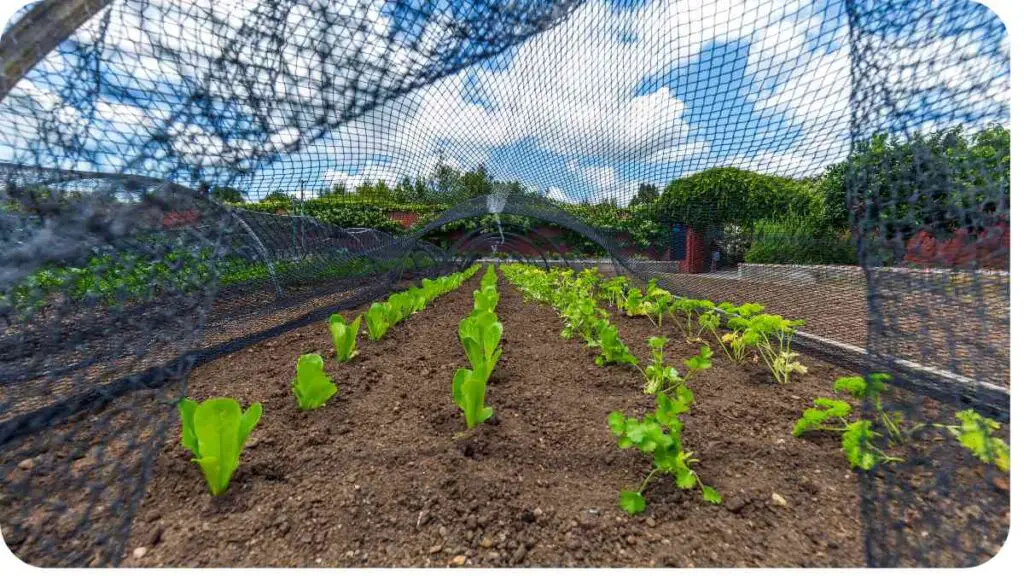
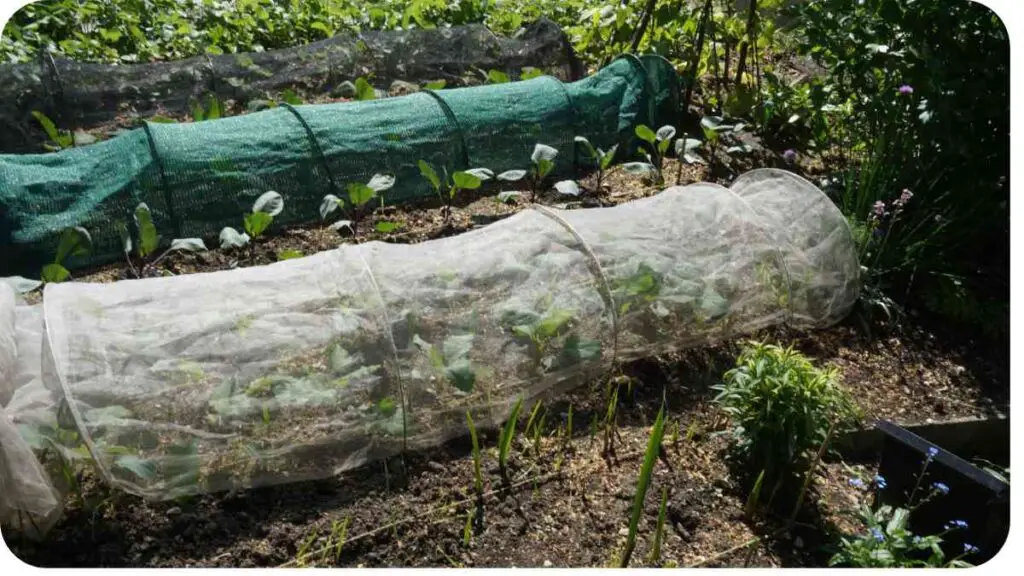
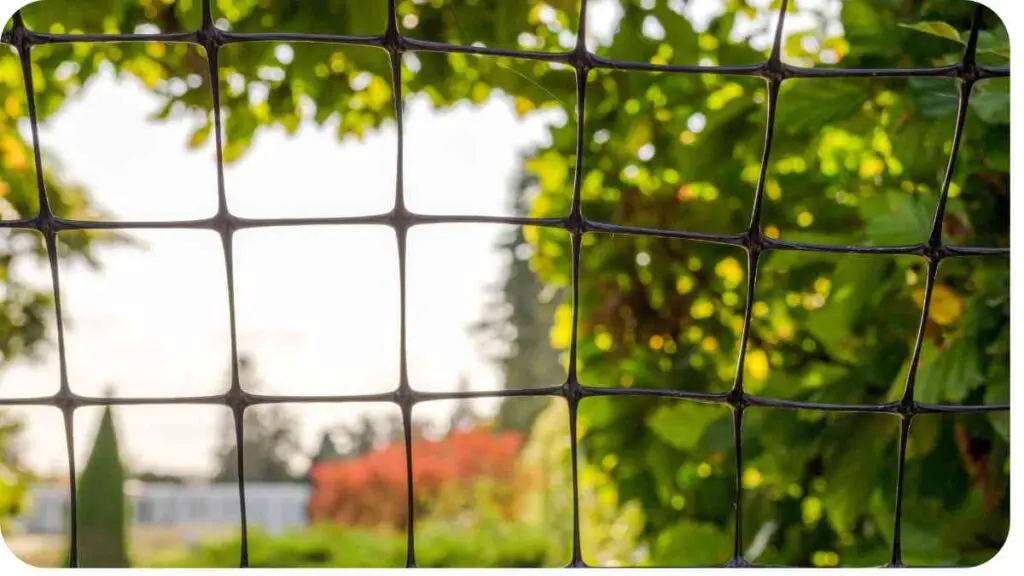
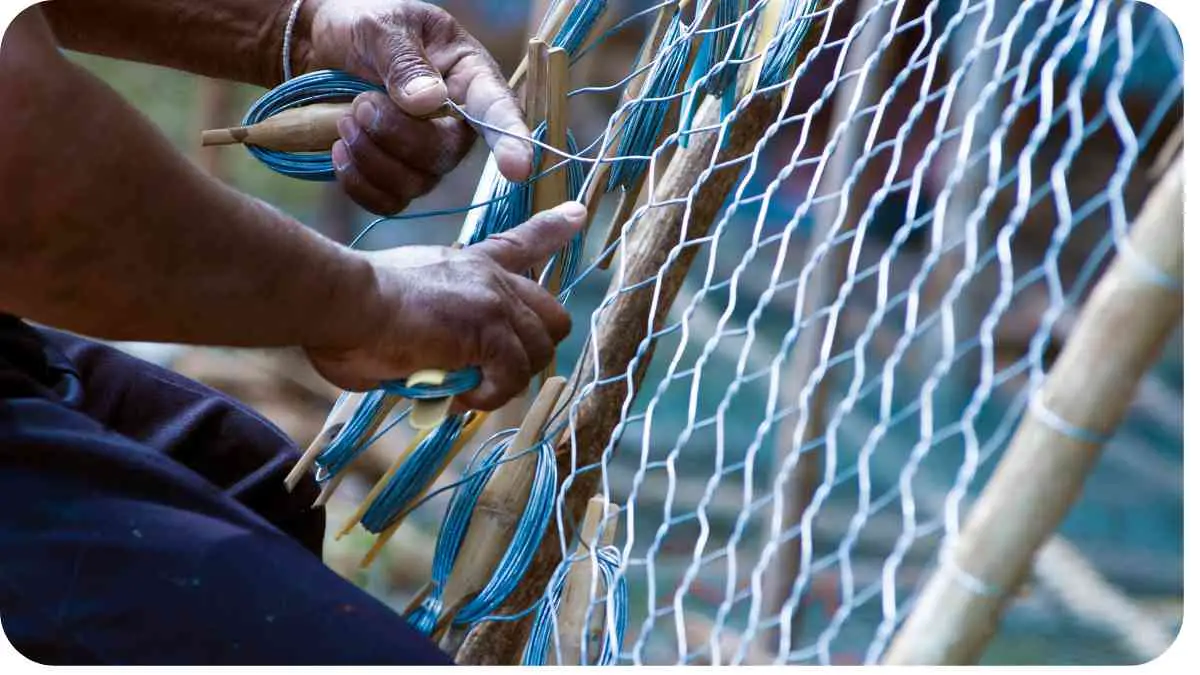
Garden netting is a fundamental component of any gardening setup, providing essential protection against pests, birds, and harsh weather elements. Whether you’re growing delicate vegetables or nurturing prized flowers, a sturdy netting barrier can make all the difference in maintaining a healthy garden ecosystem.
| Takeaways |
|---|
| 1. Regular maintenance and inspections can prevent garden netting tears. |
| 2. Small tears can be patched with adhesive patches or repair tape. |
| 3. Sewing provides a durable solution for larger tears in garden netting. |
| 4. Reinforcing weak spots with additional support can prolong netting lifespan. |
| 5. Protective covers, such as bird netting and sun shades, offer added protection. |
2. Understanding Garden Netting Tears

Garden netting tears can result from various factors, including sharp objects, animal intrusion, or simply wear and tear over time. Understanding the types of damage and their causes is crucial for effective repair strategies.
When dealing with a leaking hose, it’s essential to address the issue promptly. For detailed instructions on fixing a leaking hose, check out this comprehensive guide on garden hose repair. Ensuring your hose connections are secure can save water and improve efficiency.
Types of Damage
Tears in garden netting can range from small punctures to large, gaping holes, each requiring a different approach to repair. Common types of damage include:
- Small punctures
- Rips and tears
- Stretching and sagging
Common Causes
Identifying the root cause of garden netting damage can help prevent future issues. Common causes of tears and wear include:
- Animal activity (e.g., birds, rodents)
- Weather exposure (e.g., wind, rain, UV radiation)
- Accidental damage (e.g., tools, falling debris)
3. Tools and Materials You’ll Need
Before diving into repairs, gather the necessary tools and materials to ensure a smooth DIY process.
Essential Tools
- Scissors or utility knife
- Sewing needle (if sewing repairs are needed)
- Pliers (for handling wire netting)
- Tape measure
Recommended Materials
- Patching material (e.g., repair tape, adhesive patches)
- Replacement netting (for severe damage)
- Sewing thread (if sewing repairs are needed)
- Cable ties or zip ties
4. Patching Small Tears
Small tears in garden netting can often be patched quickly and effectively, extending the life of the netting without the need for extensive repairs.
If your garden trellis is damaged, it’s important to repair it to maintain plant support. Follow this step-by-step guide on replacing trellis panels to ensure your plants have the structure they need to grow properly and stay healthy.
Step-by-Step Guide
- Clean the torn area to remove debris and dirt.
- Cut a patch slightly larger than the tear from your chosen patching material.
- Apply adhesive to the patch or netting and press firmly to seal the tear.
- Allow the adhesive to dry completely before reattaching the netting to your garden.
Materials Needed
Here’s a comparison of common patching materials for small tears:
| Patching Material | Pros | Cons |
|---|---|---|
| Adhesive patches | Quick and easy to apply | May not be as durable |
| Repair tape | Provides a strong, flexible seal | May require precise application |
5. Sewing Larger Tears
For larger tears or rips in garden netting, sewing repairs offer a more durable solution, ensuring the damaged areas are securely fastened.
Step-by-Step Sewing Process
- Align the torn edges of the netting, ensuring they are flat and evenly matched.
- Thread a sewing needle with sturdy thread, preferably nylon or polyester for outdoor durability.
- Begin stitching along the edges of the tear using a simple running stitch or a zigzag stitch for added strength.
- Continue sewing until the entire tear is securely closed, making sure to tie off the thread tightly at the end.
Types of Stitches
Different types of stitches can be used for sewing garden netting tears, each offering unique benefits:
- Running Stitch: Simple and quick to execute, ideal for small tears.
- Zigzag Stitch: Provides added reinforcement, preventing tears from spreading.
- Overlapping Stitch: Creates a strong, overlapping seam for maximum durability.
Recommended Sewing Techniques
Here are some recommended sewing techniques for repairing larger tears in garden netting:
| Sewing Technique | Pros | Cons |
|---|---|---|
| Running Stitch | Quick and easy to execute | Less durable for large tears |
| Zigzag Stitch | Provides strong reinforcement | Requires more time and skill |
| Overlapping Stitch | Maximum durability | May be more challenging |
6. Reinforcing Weak Spots

Preventing future tears and damage is key to maintaining the integrity of your garden netting. Identifying weak spots and reinforcing them can significantly prolong the lifespan of your netting.
Damaged garden edging can affect both the aesthetics and functionality of your garden. Learn how to perform effective repairs and replacements for garden edging to keep your garden looking neat and well-maintained, preventing soil erosion and defining planting areas.
Identifying Weak Points
Inspect your garden netting regularly for signs of wear and weakness, focusing on areas prone to stress and tension, such as corners and attachment points.
Strengthening Methods
Once weak spots are identified, consider implementing the following reinforcement methods:
- Installing additional support posts or stakes
- Adding tensioning devices (e.g., turnbuckles, ratchets)
- Applying protective coatings or sealants to vulnerable areas
Reinforcement Options
Here’s a comparison of common reinforcement options for garden netting weak spots:
| Reinforcement Method | Pros | Cons |
|---|---|---|
| Additional support posts | Provides added stability | May require digging or installation |
| Tensioning devices | Allows for easy tension adjustment | Requires periodic maintenance |
| Protective coatings | Provides weather and UV protection | May alter the appearance of netting |
7. Preventive Measures

While regular maintenance and repairs are essential for prolonging the lifespan of your garden netting, implementing preventive measures can help minimize damage and the need for frequent repairs.
Maintenance Tips
- Regular Inspection: Schedule routine inspections of your garden netting to identify any signs of damage or wear early on.
- Cleaning: Keep your netting clean by removing debris and dirt regularly, preventing buildup that can weaken the material.
- Trimming Vegetation: Trim back any overgrown vegetation near the netting to reduce the risk of entanglement and damage.
A worn-out garden hose reel can lead to storage and usage problems. For simple and effective solutions, explore our DIY solutions for garden hose reels. Properly maintaining your hose reel will extend its life and make watering your garden easier.
Protective Covers
In addition to proactive maintenance, consider using protective covers or barriers to shield your garden netting from potential hazards.
- Bird Netting: Install bird netting over delicate plants to prevent bird damage and nesting.
- Windbreaks: Erect windbreaks or barriers to shield your garden netting from strong winds, reducing the risk of tearing and stretching.
- Sun Shades: Use shade cloth or sun shades to protect your netting from excessive sun exposure, prolonging its lifespan.
Rusty garden tools can hinder your gardening efforts and damage plants. Regular maintenance is key; follow this cleaning and maintenance guide for rusty tools to restore your tools and keep them in top condition, ensuring they perform well and last longer.
8. Conclusion
Repairing torn garden netting doesn’t have to be a daunting task. With the right tools, materials, and techniques, you can quickly and effectively mend tears and reinforce weak spots, ensuring your plants remain protected and thriving. By understanding the common causes of damage and implementing preventive measures, you can minimize the need for repairs and enjoy a healthy, flourishing garden for years to come.
Remember, a little maintenance goes a long way in preserving the integrity of your garden netting and safeguarding your precious plants from harm.
If you have any questions or tips of your own to share, feel free to leave them in the comments below. Happy gardening!
Further Reading
- Kitchen Garden Forum: Engage with a community of garden enthusiasts to discover additional tips and tricks for repairing garden netting.
- Needlepointers YouTube Channel: Watch instructional videos on repairing garden netting for visual guidance and step-by-step tutorials.
- Faster Capital Article: Netting Repair – Mending the Gaps: Explore the importance of timely netting repair and learn about effective techniques for maintaining your garden netting.
FAQs
How can I prevent tears in my garden netting?
Regular inspections, proper installation, and using durable materials can help prevent tears in garden netting.
What are the common causes of garden netting damage?
Common causes include animal activity, weather exposure, and accidental damage from tools or debris.
Can small tears in garden netting be repaired?
Yes, small tears can often be patched using adhesive patches or repair tape for a quick fix.
Is sewing necessary for repairing larger tears?
Sewing can provide a more durable solution for larger tears, ensuring a secure repair.
How can I reinforce weak spots in my garden netting?
Additional support posts, tensioning devices, and protective coatings can help reinforce weak spots and prolong the lifespan of your netting.

Hi! My name is Hellen James, and I’m here to help you with your home-maintenance needs. Whether it’s building a better yard or just trying to fix a garden—I can show you how.


