Garden trellises add a touch of elegance to any outdoor space, providing support for climbing plants while enhancing the aesthetic appeal of your garden. However, over time, trellis panels can succumb to wear and tear, requiring replacement to maintain both functionality and appearance.
In this guide, we’ll walk you through the process of replacing broken garden trellis panels, empowering you to revitalize your outdoor oasis with ease.
| Takeaways |
|---|
| Regular maintenance prolongs trellis lifespan. |
| Accurate measurements ensure proper fit. |
| Safety goggles protect eyes during repairs. |
| Proper installation enhances trellis stability. |
| Face fixing provides secure panel attachment. |
2. Assessing the Damage
Before diving into the repair process, it’s essential to assess the extent of the damage to your trellis panels. Here are some common types of damage you may encounter:
Ensure a leak-free garden experience with our comprehensive guide on fixing garden hose connections. Learn how to fix leaking hose connections effectively and keep your outdoor space tidy and functional.
Table: Common Types of Damage to Trellis Panels
| Type of Damage | Description |
|---|---|
| Rot | Softening or decay of wood due to moisture exposure |
| Breakage | Cracks or splits in the wood |
| Warping | Distortion or bending of the panel |
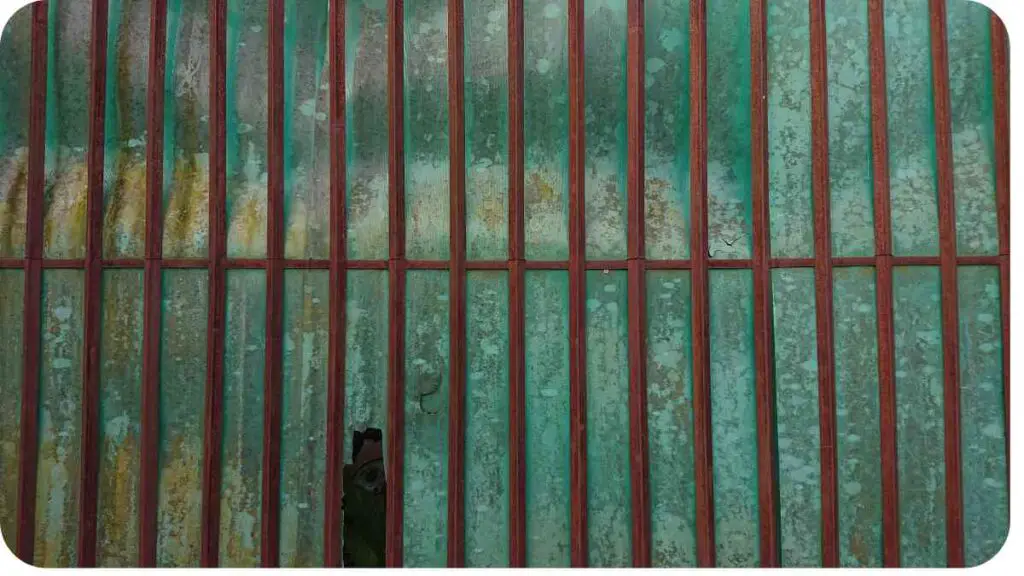
| Rust (for metal) | Corrosion of metal components |
| Loose or Missing Parts | Detached or absent screws, nails, or fasteners |
3. Gathering Materials and Tools

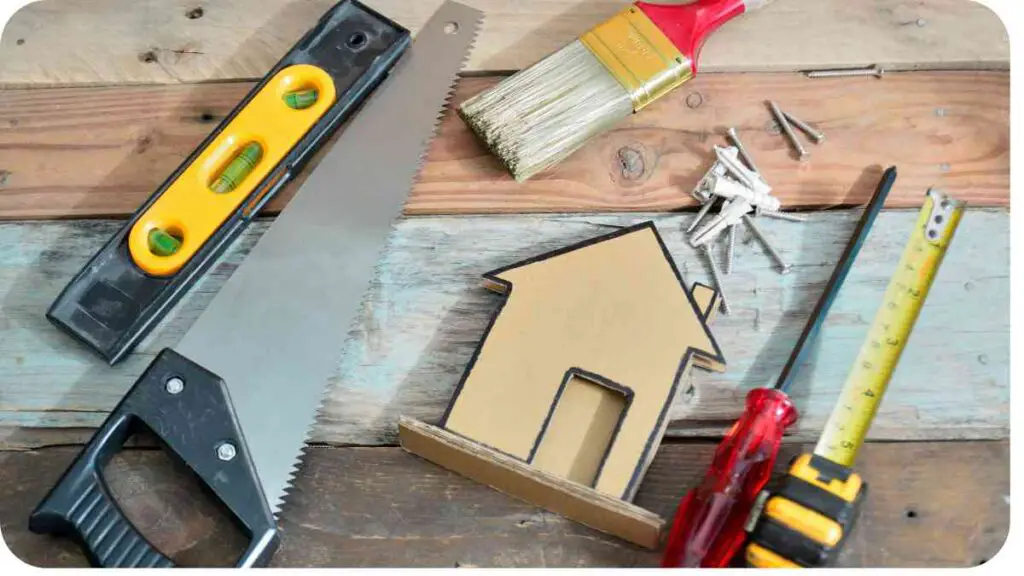
Once you’ve assessed the damage, it’s time to gather the necessary materials and tools for the repair job. Having everything on hand will streamline the process and prevent delays. Here’s a handy list to guide you:
Table: Essential Tools and Materials for Trellis Repair
| Tools | Materials |
|---|---|
| Screwdriver | Replacement trellis panel |
| Drill | Screws |
| Saw | Wood glue (if needed) |
| Tape measure | Paint or stain (optional) |
| Pencil | Sandpaper |
| Safety goggles |
Ensuring you have the right tools and materials will make the repair process smoother and more efficient.
4. Preparing the Work Area
Before you begin the repair work, it’s essential to prepare the work area to ensure safety and efficiency. Here’s what you should do:
- Clear the area around the damaged trellis panel to create space to work.
- Lay down a drop cloth or old sheet to protect the ground from debris and scratches.
- Put on your safety goggles to protect your eyes from dust and flying debris.
- Organize your tools and materials within easy reach for quick access during the repair process.
By taking these preparatory steps, you’ll create a conducive environment for successful trellis repair.
Revitalize your outdoor living space by following our step-by-step guide on repairing patio cracks. Discover the best techniques to fix patio cracks and restore the beauty and integrity of your outdoor surface with ease.
5. Removing the Damaged Panel

With the work area prepared, it’s time to remove the damaged trellis panel. Follow these steps:
- Use a screwdriver or drill to remove any screws or nails securing the panel in place.
- Gently pry the panel away from the supporting structure, taking care not to damage surrounding components.
- Dispose of the old panel properly, considering recycling options if applicable.
Removing the damaged panel sets the stage for installing the new one and revitalizing your trellis.
6. Measuring and Cutting Replacement Panels
Before cutting your replacement panel, it’s crucial to take accurate measurements to ensure a precise fit. Here’s how:
- Use a tape measure to determine the dimensions of the space left by the removed panel.
- Transfer these measurements to the replacement panel, marking the areas to be cut.
- Use a saw to carefully cut the panel to size, following your markings.
Table: Standard Trellis Panel Sizes
| Size | Dimensions (inches) |
|---|---|
| Small | 24 x 36 |
| Medium | 36 x 48 |
| Large | 48 x 72 |
7. Installing the New Panel
With the replacement panel cut to size, it’s time to install it in place of the old one. Follow these steps for a seamless installation:
- Position the new panel against the supporting structure, ensuring it aligns correctly with adjacent panels.
- Use a drill to pre-drill holes for screws or nails, spacing them evenly along the edges of the panel.
- Secure the panel in place by driving screws or hammering nails through the pre-drilled holes.
Taking care during the installation process will ensure a sturdy and long-lasting repair.
Strengthen your garden structures with our detailed guide on fixing wobbly pergolas, arbors, and more. Explore practical solutions to stabilize garden structures and enhance the safety and aesthetics of your outdoor space.
8. Securing the Panel in Place
Once the new panel is installed, it’s essential to double-check its stability and security. Here’s what you should do:
- Give the panel a gentle shake to test for any signs of looseness or instability.
- Tighten any screws or nails as needed to ensure a snug fit against the supporting structure.
- Inspect the entire trellis structure for any additional damage or signs of wear that may require attention.
Securing the panel properly will enhance the overall integrity of your trellis.
Protect your wooden outdoor structures from pest damage with our comprehensive preservation guide. Discover effective strategies to address pest damage and prolong the lifespan of your pergolas, fences, and other wooden features.
9. Finishing Touches and Maintenance Tips

With the repair complete, it’s time to add the finishing touches and implement maintenance practices to prolong the life of your trellis:
- Sand any rough edges or surfaces on the new panel to ensure a smooth finish.
- Apply a fresh coat of paint or stain to match the existing trellis and protect the wood from the elements.
- Regularly inspect your trellis for signs of damage or wear, addressing any issues promptly to prevent further deterioration.
By incorporating these maintenance tips into your routine, you’ll keep your trellis looking beautiful and functional for years to come.
Give your outdoor planters a new lease on life with our expert tips for repairing cracks and chips. Learn how to effectively repair outdoor planters and preserve the beauty and functionality of your garden containers.
10. Conclusion
In conclusion, replacing broken garden trellis panels is a straightforward process that can be completed with basic tools and materials. By following this step-by-step guide, you can restore the beauty and functionality of your trellis, allowing your garden to thrive.
Remember to assess the damage, gather the necessary materials, prepare the work area, and follow proper installation techniques for the best results. With a little effort and attention to detail, your garden trellis will continue to enhance your outdoor space for years to come.
Further Reading
For more information on repairing and maintaining garden trellises, check out the following resources:
- Face Fixing for Trellis and Slatted Panels: This guide provides detailed instructions on face fixing techniques for trellis and slatted panels, ensuring a secure and professional installation.
- Fix a Trellis: This instructable offers step-by-step guidance on fixing a trellis, complete with helpful tips and illustrations to guide you through the process.
- Trellis Issues: 6-Step Guide: Learn how to address common trellis issues with this comprehensive 6-step guide, covering everything from repairs to maintenance tips for long-term durability.
FAQs
How do I assess the damage to my garden trellis panels?
To assess the damage, closely inspect the panels for signs of rot, breakage, warping, rust (for metal panels), or loose/missing parts.
What tools and materials do I need for trellis repair?
You’ll need basic tools such as a screwdriver, drill, saw, tape measure, pencil, safety goggles, as well as replacement trellis panels, screws, wood glue (if needed), and paint or stain
How do I remove a damaged trellis panel?
To remove a damaged panel, use a screwdriver or drill to remove any screws or nails securing it in place. Then, gently pry the panel away from the supporting structure, taking care not to damage surrounding components.
How do I install a new trellis panel?
Position the new panel against the supporting structure, pre-drill holes for screws or nails, and then secure the panel in place by driving screws or hammering nails through the pre-drilled holes.
How can I ensure the longevity of my repaired trellis?
To prolong the life of your trellis, regularly inspect it for damage or wear, address any issues promptly, and implement maintenance practices such as sanding rough edges and applying a fresh coat of paint or stain.

Hi! My name is Hellen James, and I’m here to help you with your home-maintenance needs. Whether it’s building a better yard or just trying to fix a garden—I can show you how.


