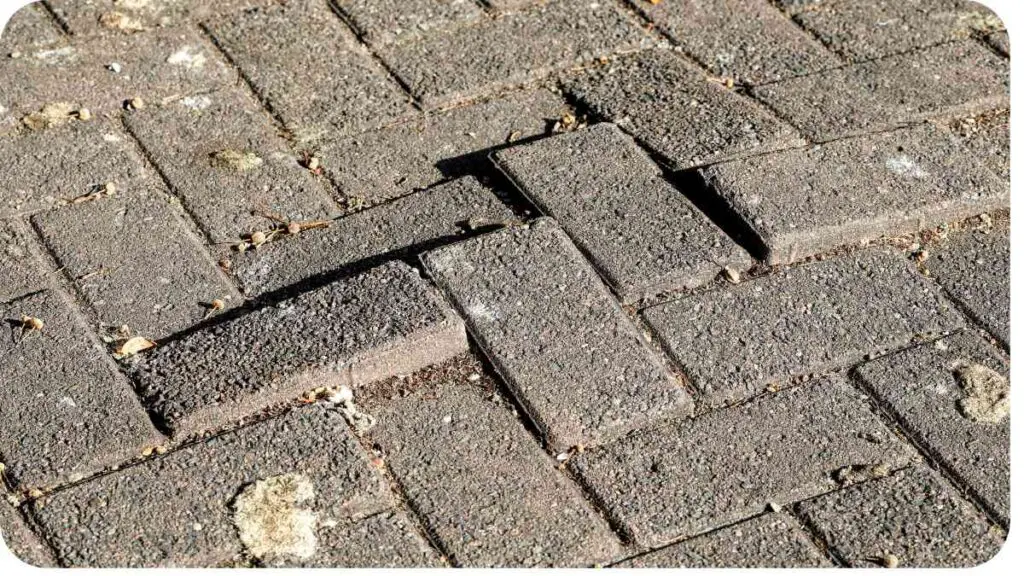
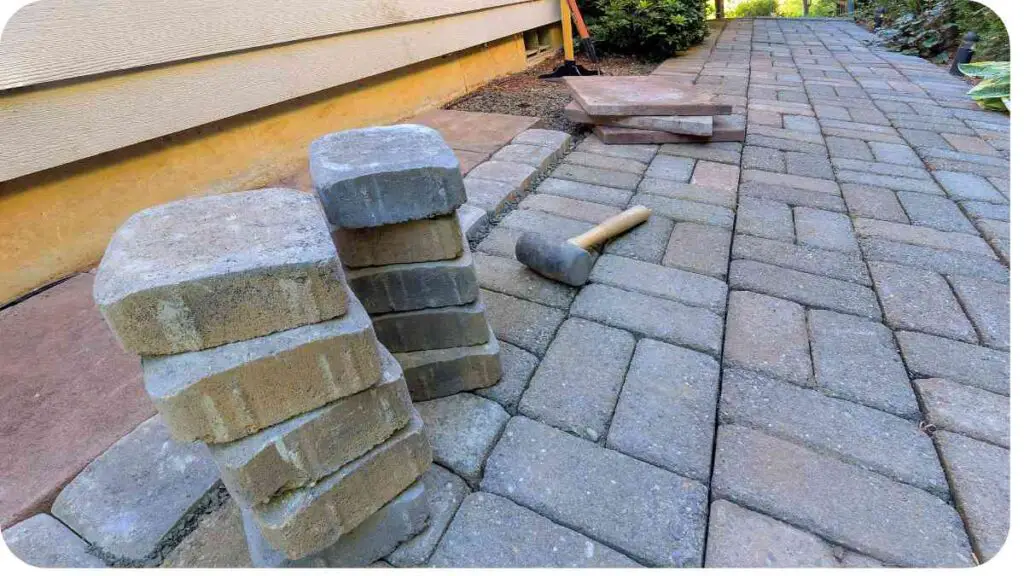
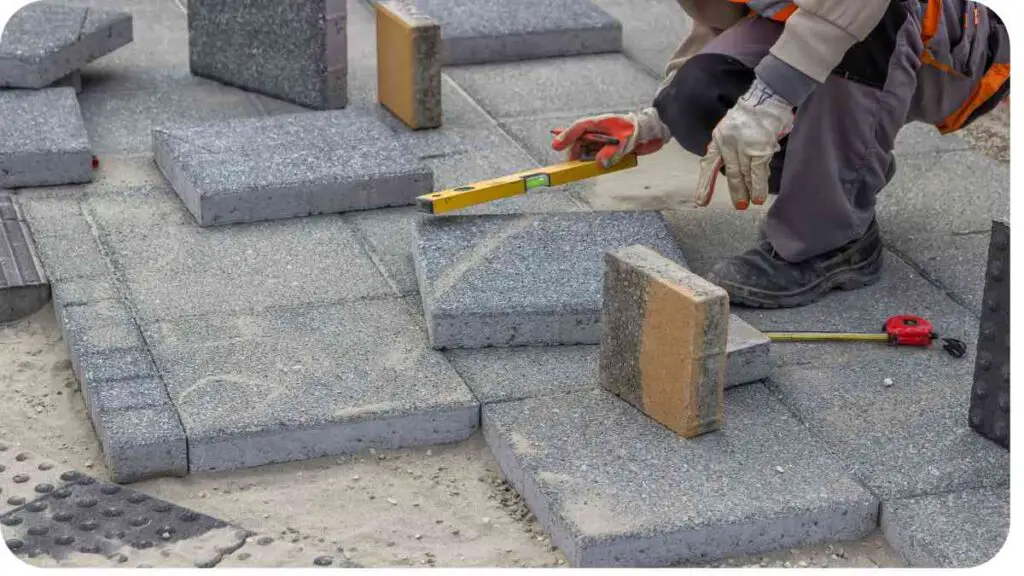
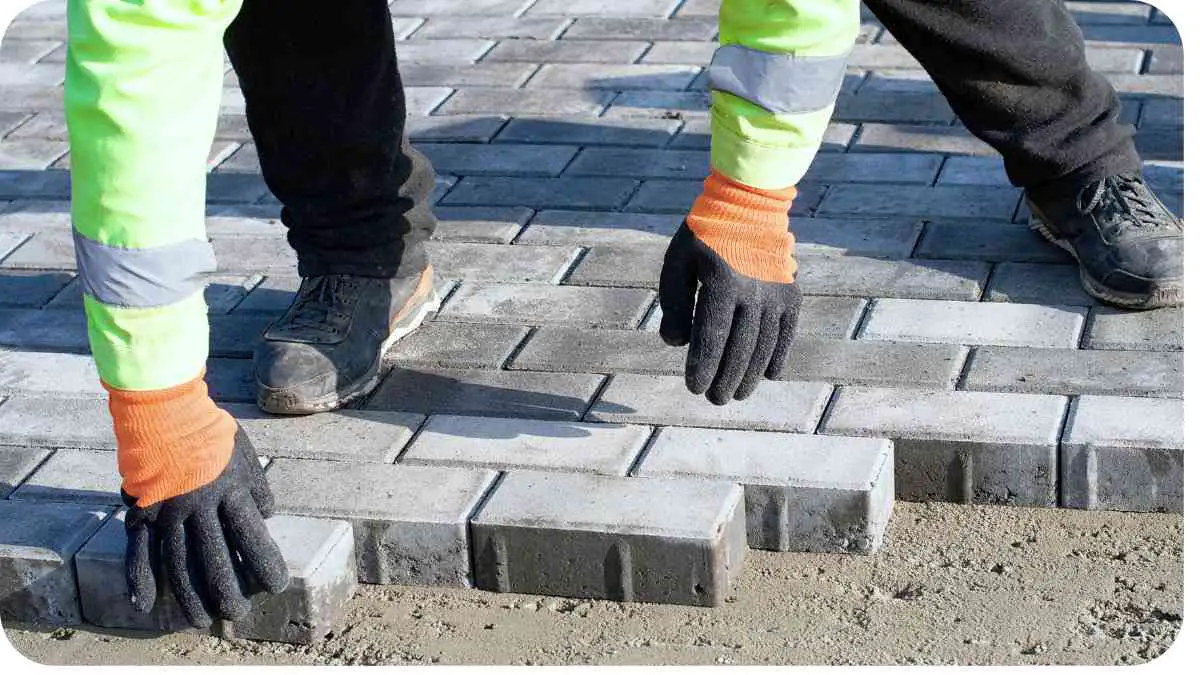
Walking along a pathway or relaxing on a patio should be a delightful experience, but uneven pavers can turn that joy into a hazard. Uneven surfaces not only detract from the aesthetic appeal of your outdoor space but also pose risks of tripping and injury.
However, fear not! With the right knowledge and tools, fixing uneven pavers is a manageable task that can restore both beauty and safety to your walkway or patio.
| Takeaways |
|---|
| 1. Properly leveling and repairing pavers can enhance safety and aesthetics in your outdoor space. |
| 2. Understanding the common causes of uneven pavers is crucial for effective repair and prevention. |
| 3. Utilizing the right tools and materials is essential for achieving a professional finish. |
| 4. Regular maintenance and preventive measures can help prolong the lifespan of your paver surface. |
| 5. Consider factors such as cost, time, and expertise when deciding between DIY repair and hiring a professional. |
2. Understanding Uneven Pavers

Common Causes of Unevenness
Uneven pavers can result from various factors, including:
| Cause | Description |
|---|---|
| Poor Base Preparation | Inadequate or improperly compacted base material can lead to shifting and settling over time. |
| Freeze-Thaw Cycles | Extreme weather conditions can cause pavers to heave or sink as the ground expands and contracts. |
| Soil Erosion | Water runoff and erosion beneath the pavers can create voids, causing them to become uneven. |
| Tree Root Growth | Tree roots can exert pressure on pavers, causing them to lift and become uneven over time. |
Potential Risks and Hazards
Uneven pavers pose several risks and hazards, including:
- Tripping Hazards: Elevated or sunken pavers create uneven surfaces, increasing the risk of trips and falls.
- Water Accumulation: Uneven pavers can lead to water pooling, which can cause damage to the pavers and surrounding structures.
- Structural Instability: Over time, uneven pavers may compromise the structural integrity of the pathway or patio, leading to costly repairs.
When your patio reveals cracks, don’t fret; repair them with finesse. Follow this step-by-step guide to restore its charm and durability, ensuring many more enjoyable outdoor moments.
3. Assessing the Damage
Visual Inspection
Start by visually inspecting the walkway or patio to identify areas where the pavers are uneven. Look for sunken or raised sections, as well as any signs of damage or wear.
Leveling Tools and Techniques
Utilize leveling tools such as a straightedge or level to determine the extent of the unevenness. This will help you gauge the amount of adjustment needed to restore the surface to a uniform level.
Stay tuned for the next section on the tools and materials you’ll need to tackle this project effectively.
4. Tools and Materials You’ll Need

Essential Tools
Before embarking on your paver repair journey, gather the following essential tools:
| Tool | Purpose |
|---|---|
| Rubber Mallet | For tapping and adjusting pavers into place. |
| Straightedge or Level | To check the evenness of the surface and guide your adjustments. |
| Shovel | For removing and adding base material as needed. |
| Tamper or Plate Compactor | To compact the base material and ensure stability. |
| Jointing Sand | For filling gaps between pavers and promoting stability. |
Optional Equipment for Precision
For a more precise and professional finish, consider investing in:
Shifts and sinking in stone pathways disrupting your outdoor oasis? Navigate through solutions with our comprehensive guide, ensuring a stable and picturesque pathway for your leisurely strolls.
| Tool | Purpose |
|---|---|
| Laser Level | Provides accurate leveling reference points for larger areas. |
| Paver Extractor | Facilitates the removal of stubborn or tightly packed pavers. |
| Polymeric Sand | Enhances stability and prevents weed growth between pavers. |
5. Step-by-Step Repair Guide
Fixing uneven pavers requires a systematic approach to ensure a lasting and professional result. Here’s a step-by-step guide to help you through the process:
Preparing the Area
- Clear the Surface: Begin by removing any furniture, debris, or vegetation from the area to be repaired.
- Lift the Pavers: Using a paver extractor or a flat-blade shovel, carefully lift the uneven pavers from the affected area and set them aside.
- Inspect the Base: Check the underlying base material for signs of erosion or settlement. Add or remove base material as needed to achieve a stable foundation.
Lifting and Resetting Pavers
- Adjust the Base: Use a tamper or plate compactor to compact the base material evenly throughout the repair area.
- Reset the Pavers: Place the lifted pavers back into position, ensuring they are level with adjacent pavers and aligned properly.
- Tap into Place: Use a rubber mallet to gently tap each paver into position, adjusting as needed to achieve a uniform surface.
Adding or Replacing Base Material
- Fill Gaps: Fill any gaps between the pavers with jointing sand to promote stability and prevent weed growth.
- Compact Again: Once the pavers are in place, use the tamper or plate compactor to compact the surface again, ensuring firmness and stability.
Compacting and Leveling
- Check for Evenness: Use a straightedge or level to check the surface for evenness, making any final adjustments as needed.
- Finishing Touches: Sweep additional jointing sand over the surface to fill any remaining gaps between the pavers, providing a seamless finish.
Is your garden structure wobbly, compromising its functionality and aesthetics? Fear not, for solutions await! Discover how to stabilize your pergolas, arbors, and more with our expert guide.
6. Tips for a Professional Finish
Proper Alignment Techniques
- Use String Guides: Stretch string guides along the edges of the repair area to ensure straight alignment and consistent spacing between pavers.
- Check for Uniformity: Regularly check the alignment and spacing of the pavers as you work to maintain a uniform appearance throughout the surface.
Ensuring Stability and Durability
- Choose Quality Materials: Opt for high-quality base material and jointing sand to ensure stability and longevity of the repaired surface.
- Proper Compaction: Thoroughly compact the base material and jointing sand to minimize settling and shifting over time.
Regular Maintenance:
- Inspect Periodically: Schedule regular inspections of your walkway or patio to identify any signs of unevenness or damage early on.
- Address Issues Promptly: Address any issues promptly to prevent further damage and maintain the integrity of the surface.
By implementing these tips, you can achieve a professional-looking finish that not only enhances the appearance of your outdoor space but also ensures long-term stability and durability.
Maintain the integrity of your garden edging with practical solutions. Our guide offers insights into identifying and solving separation problems, ensuring a neat and cohesive landscape design.
7. Preventive Measures for Future Maintenance
Drainage Considerations
- Ensure Proper Drainage: Ensure that your walkway or patio is designed with proper drainage to prevent water from pooling and causing erosion beneath the pavers.
- Install Drainage Systems: Consider installing a French drain or other drainage systems to redirect excess water away from the surface.
Regular Inspections and Upkeep
- Schedule Regular Inspections: Schedule periodic inspections to identify any signs of unevenness, settling, or damage early on.
- Address Issues Promptly: Address any issues promptly to prevent them from escalating into larger problems requiring extensive repairs.
Taking proactive measures to address drainage issues and conducting regular inspections can help minimize the likelihood of future maintenance issues and prolong the life of your walkway or patio.
8. Hiring a Professional vs. DIY Approach

Cost Analysis
- Professional Services:
- Hiring a professional landscaping company or paver contractor may involve higher upfront costs.
- However, professionals bring expertise and specialized equipment to ensure a high-quality finish.
- Costs typically include labor, materials, and any additional services provided.
- DIY Approach:
- DIY repairs can be more cost-effective, as you’ll primarily incur expenses for materials and tools.
- However, it’s important to consider the value of your time and the potential for mistakes that may require additional repairs.
Pros and Cons of Each Option
Hiring a Professional:
- Pros:
- Expertise: Professionals have experience in paver installation and repair, ensuring a quality outcome.
- Time-Saving: Hiring professionals can save you time and effort, especially for larger repair projects.
- Warranty: Many professional services offer warranties or guarantees for their workmanship.
- Cons:
- Higher Cost: Professional services typically come with higher upfront costs compared to DIY.
- Limited Control: You may have less control over the repair process and materials used when hiring a professional.
DIY Approach:
- Pros:
- Cost Savings: DIY repairs can be more cost-effective, especially for smaller projects.
- Control: You have full control over the repair process and materials used.
- Learning Experience: DIY projects provide opportunities to learn new skills and gain satisfaction from completing the repair yourself.
- Cons:
- Time-Consuming: DIY repairs may require more time and effort, particularly if you lack experience or specialized tools.
- Risk of Errors: Mistakes made during the repair process could lead to additional expenses or the need for professional assistance.
Consider your budget, time constraints, and comfort level with DIY projects when deciding whether to hire a professional or tackle the repair yourself.
9. Case Studies and Success Stories
DIY Successes and Challenges
Case Study 1: John’s Patio Repair
John, a DIY enthusiast, noticed several uneven pavers on his patio. Armed with online tutorials and basic tools, he decided to tackle the repair himself. After carefully lifting and resetting the pavers, compacting the base material, and adding jointing sand, John achieved a professional-looking finish. His patio now boasts a level surface that enhances both safety and aesthetics.
Challenges Faced:
- Limited Experience: John encountered some challenges due to his limited experience with paver repair techniques.
- Time Investment: The project took longer than expected, requiring several weekends to complete.
Professional Solutions in Action
Case Study 2: Green Landscaping Services
Green Landscaping Services, a professional landscaping company, was hired to repair uneven pavers in a large residential patio. Utilizing their expertise and specialized equipment, the team efficiently lifted, leveled, and reset the pavers, ensuring a flawless finish. The homeowners were delighted with the results, appreciating the convenience and quality of professional service.
Success Factors:
- Expertise and Efficiency: The professional team’s expertise and efficient workflow minimized disruption to the homeowners and delivered superior results.
- Warranty Assurance: Green Landscaping Services provided a warranty on their workmanship, giving the homeowners peace of mind.
These case studies highlight the effectiveness of both DIY and professional repair approaches. Whether you choose to tackle the project yourself or hire a professional, achieving a level and stable surface is within reach.
Unlock the secrets to healthier plant growth by tackling soil compaction head-on. Explore our tips for better plant growth, rejuvenating your garden’s vitality and vibrancy.
10. FAQs: Answering Your Concerns
How long does it take to fix uneven pavers?
The time required to fix uneven pavers depends on various factors, including the size of the repair area, the extent of the damage, and whether you’re tackling the project yourself or hiring a professional. For small DIY repairs, you may need a weekend or two to complete the task, while larger projects or those requiring professional assistance may take several days to a week.
Can I use regular sand for leveling pavers?
While regular sand can be used for filling gaps between pavers, it’s not ideal for leveling them. Jointing sand, specifically designed for paver installations, offers better stability and prevents weed growth. Additionally, polymeric sand, which hardens when wet, provides enhanced durability and prevents sand washout.
How do I prevent weeds from growing between pavers?
Preventing weed growth between pavers requires proper installation and maintenance techniques. Here are some tips:
- Use a geotextile barrier beneath the base material to inhibit weed growth.
- Sweep polymeric sand into the joints between pavers to prevent weed germination and growth.
- Regularly inspect and remove any weeds that may appear between the pavers to prevent them from taking root.
By following these preventive measures, you can minimize weed growth and maintain the integrity of your paver surface.
In conclusion, fixing uneven pavers in your walkway or patio is a manageable task that can be approached with confidence and the right tools. Whether you choose to tackle the repair yourself or hire a professional, the key is to prioritize safety, stability, and aesthetics to enhance the beauty and functionality of your outdoor space.
11. Conclusion
Uneven pavers not only detract from the beauty of your outdoor space but also pose safety hazards. By understanding the causes of unevenness, assessing the damage, and following a systematic repair process, you can achieve a level and stable surface that enhances both safety and aesthetics. Whether you opt for a DIY approach or hire a professional, the key is to prioritize quality materials, proper techniques, and regular maintenance to ensure the longevity of your walkway or patio.
Further Reading
Step-by-Step Guide: How to Level and Repair Your Pavers
Discover detailed instructions and expert tips for leveling and repairing pavers in this comprehensive guide.
How to Fix, Level, and Repair Pavers
Explore practical advice and step-by-step techniques for fixing, leveling, and repairing pavers to enhance the appearance of your outdoor space.
Repair Sunken Pavers
Learn how to identify and repair sunken pavers with this informative tutorial, ensuring a safe and stable surface for your walkway or patio.
FAQs
How do I know if my pavers are uneven?
Uneven pavers may create visible gaps, uneven surfaces, or pose tripping hazards. Regular inspection and using a level can help identify unevenness.
Can I repair uneven pavers myself?
Yes, you can repair uneven pavers yourself with the right tools and knowledge. However, consider hiring a professional for larger or more complex repairs.
What tools do I need to repair uneven pavers?
Essential tools for repairing uneven pavers include a rubber mallet, straightedge or level, shovel, tamper or plate compactor, and jointing sand.
How long does it take to fix uneven pavers?
The time required to fix uneven pavers varies depending on the size of the repair area and the extent of the damage. Small repairs may take a weekend, while larger projects may take longer.
How can I prevent weeds from growing between pavers?
Prevent weed growth between pavers by using a geotextile barrier, sweeping polymeric sand into the joints, and regularly inspecting and removing weeds.

Hi! My name is Hellen James, and I’m here to help you with your home-maintenance needs. Whether it’s building a better yard or just trying to fix a garden—I can show you how.


