Welcome to a comprehensive guide on tackling one of the most common issues that homeowners and garden enthusiasts face: sprinkler head leaks. As a seasoned professional in the realm of sprinkler systems, I’ve encountered my fair share of leaks and malfunctions.
In this article, we’ll embark on a journey through troubleshooting and repairing sprinkler head leaks, utilizing my expertise, experiences, and hands-on insights. Get ready to master the art of maintaining a leak-free, lush lawn.
| Takeaway |
|---|
| 1. Regular Inspection: Perform regular visual inspections of your sprinkler heads to catch leaks early and prevent further damage. |
| 2. Proper Installation: Ensure proper installation with adequate sealing to prevent leaks from occurring in the first place. |
| 3. DIY Repair Skills: Empower yourself with DIY repair skills to fix simple leaks, saving you time and money in the long run. |
| 4. Water Conservation: Promptly fixing leaks not only saves you money but also contributes to responsible water usage and conservation. |
| 5. Professional Help: Don’t hesitate to call a professional for complex leaks or if you lack experience to avoid exacerbating the issue. |
| 6. Seasonal Maintenance: Schedule regular maintenance checks before each season to catch potential issues and ensure a well-functioning system. |
| 7. Preventive Measures: Implement preventive measures such as protecting sprinkler heads from impacts and monitoring soil conditions. |
| 8. Expert Tips: Follow expert tips like monitoring water pressure and investing in leak detection systems for a well-maintained sprinkler system. |
| 9. Environmentally Friendly: By addressing leaks promptly, you’re contributing to water conservation and minimizing the environmental impact. |
| 10. Upgrading Wisely: If leaks persist, consider upgrading your system to a modern one that incorporates advanced features to prevent future leaks. |
Understanding Sprinkler System Components

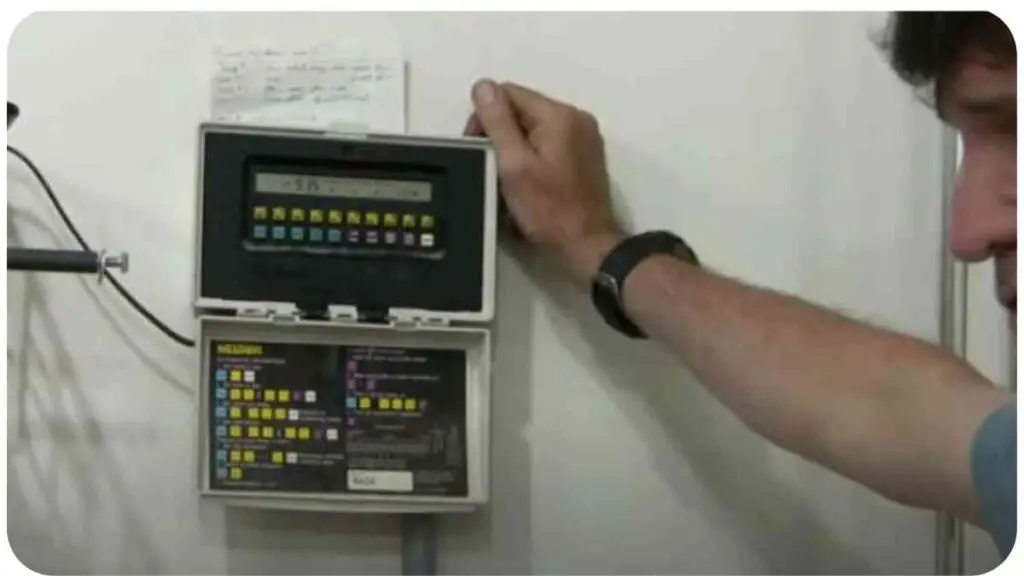
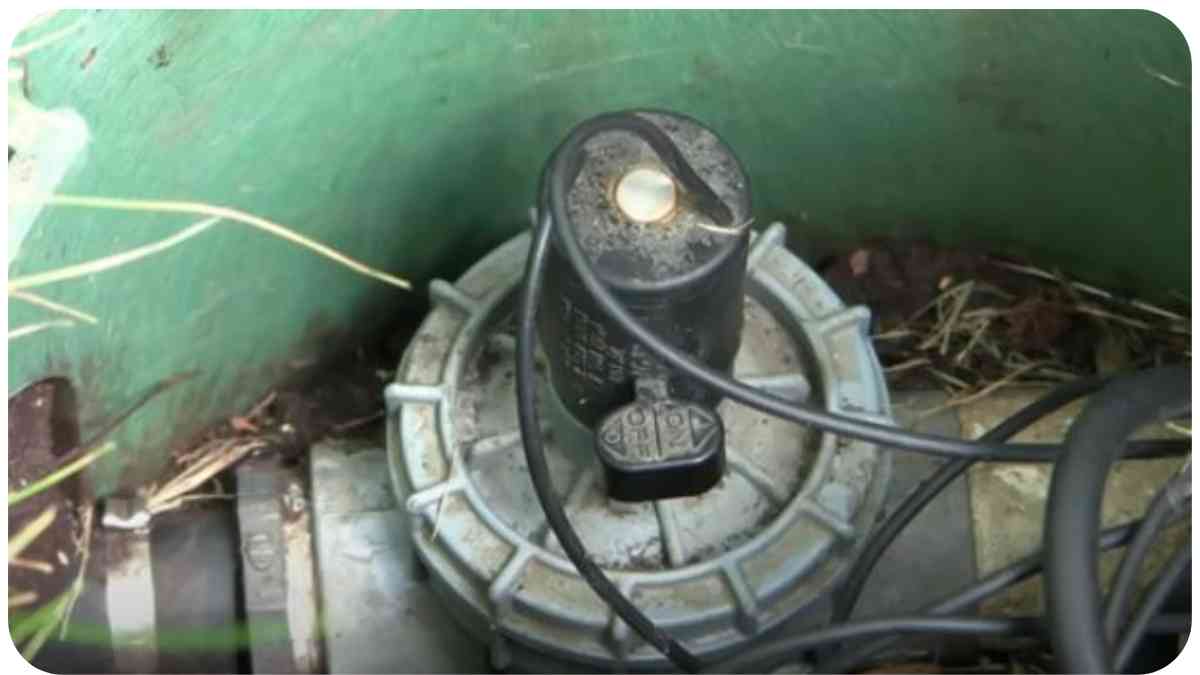
Before we dive into the world of troubleshooting, let’s establish a foundation by understanding the key components of a sprinkler system. A typical system comprises various parts, including pipes, valves, nozzles, and, of course, sprinkler heads. These components work harmoniously to deliver water to your landscape in an efficient and controlled manner.
Common Causes of Sprinkler Head Leaks
Sprinkler head leaks can arise from a variety of sources. Whether it’s due to improper installation, wear and tear, or external factors, identifying the root cause is crucial for effective repair. Some frequent culprits include:
- Improper Installation: Inadequate sealing during installation can lead to leaks over time.
- Freezing Temperatures: Cold weather can cause water to freeze within the sprinkler head, resulting in cracks.
- Physical Damage: Accidental impact from lawnmowers or foot traffic can break the sprinkler head housing.
- Aging Components: Over time, seals and gaskets can deteriorate, leading to leaks.
- Soil Shifts and Roots: Changes in soil density or the growth of roots can put pressure on sprinkler components, causing leaks.
Navigating the complexities of garden watering can often lead to issues. By exploring the Troubleshooting Common Irrigation System Problems, one can easily mitigate these challenges and maintain a lush green space.
Diagnosing Sprinkler Head Leaks
Before grabbing your toolkit, it’s essential to diagnose the problem accurately. Let’s explore some diagnostic methods that will help you pinpoint the issue.
- Visual Inspection: Examine the sprinkler head for visible cracks, breaks, or misalignments.
- Water Pressure Check: Abnormal water pressure could be a sign of leaks elsewhere in the system.
- Soil and Root Examination: Inspect the surrounding soil and roots for signs of pressure or damage that might lead to leaks.
Essential Tools for Repair
Having the right tools at your disposal can make all the difference in a successful repair operation. Here’s a handy table outlining the tools you’ll need:
| Tool | Purpose |
| Adjustable Wrench | For detaching and reattaching the sprinkler head |
| Teflon Tape | Provides a tight seal when reassembling components |
| Pipe Cutter | Needed for trimming or replacing damaged pipes |
| Shovel | Aids in accessing buried components |
| Replacement Parts | Sprinkler heads, gaskets, and seals |
DIY Repair Steps
Empower yourself with the ability to address sprinkler head leaks through these DIY steps. Refer to the following table for a clear guide:
| Step | Action |
| 1 | Turn off the water supply to the affected area |
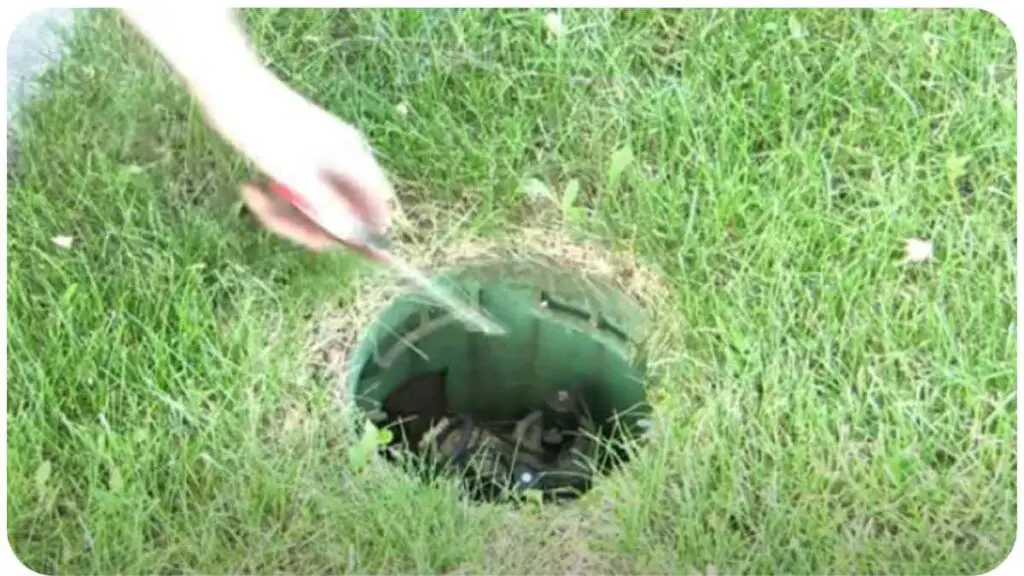
| 2 | Dig around the sprinkler head to expose it |
| 3 | Unscrew the damaged sprinkler head using an adjustable wrench |
| 4 | Clean the threads and apply Teflon tape to the new head |
| 5 | Attach the replacement head and tighten it |
| 6 | Turn the water supply back on and check for leaks |
Replacing a Damaged Sprinkler Head
In some cases, a damaged sprinkler head might require a complete replacement. This is a bit more involved than a simple repair but can be accomplished with a few extra steps. Refer to the table below for guidance:
| Step | Action |
| 1 | Turn off the water supply to the entire system |
| 2 | Dig around the damaged head to expose the connecting pipes |
| 3 | Use a pipe cutter to remove the damaged section of pipe |
| 4 | Measure and cut a new section of pipe to fit the gap |
| 5 | Attach the new pipe using couplings and adhesive |
| 6 | Follow the DIY repair steps to install a new sprinkler head |
| 7 | Turn the water supply back on and check for leaks |
Preventing Future Leaks

An ounce of prevention is worth a pound of cure, and that holds true for sprinkler head leaks. To minimize the risk of future leaks, consider these preventive measures:
- Regularly inspect and maintain your sprinkler system, especially before seasonal changes.
- Ensure proper installation with adequate sealing and waterproofing.
- Protect your sprinkler heads from lawnmower impact with guards or barriers.
- Monitor soil density and root growth around the sprinkler components.
Adjusting your lawn sprinkler for optimal water distribution is crucial. The guide on How to Adjust Lawn Sprinkler – Expert Advice offers invaluable insights to achieve the desired efficiency in lawn care
Expert Tips for Sprinkler Maintenance
Having spent years in the field, I’ve gathered some valuable insights that I’m excited to share:
- Seasonal Checkups: Schedule regular maintenance checks before the start of each season to catch potential issues early.
- Water Pressure: Keep an eye on water pressure. Low pressure can lead to poor coverage, while high pressure might cause leaks.
- Leak Detection: Consider installing a smart leak detection system that alerts you to leaks in real-time.
When to Call a Professional
While DIY repairs are rewarding, there are instances when seeking professional assistance is the wisest choice:
- Complex Leaks: If the issue is extensive or involves major system components, a professional’s expertise is invaluable.
- Lack of Experience: If you’re unsure about your repair skills, it’s better to avoid causing further damage.
An efficient garden hose sprinkler can make a world of difference to plant health. Read through the How to Adjust a Garden Hose Sprinkler – Easy Fix article to understand the fine-tuning required for maximum plant hydration.
Environmental Impact and Water Conservation
As someone who deeply values the environment, I encourage responsible water usage. Fixing leaks promptly not only saves you money but also conserves water, a precious resource.
Troubleshooting Uneven Water Distribution
Uneven water distribution can lead to patchy lawns. If you’re facing this issue, refer to your system’s manual for guidance or consider consulting a professional.
Garden sprinkler heads, when misaligned, can lead to water wastage. To optimize their performance and conserve water, the How to Adjust a Garden Sprinkler Head – Easy Fix guide provides actionable advice for every gardening enthusiast.
Addressing Rust and Corrosion Issues
Rust and corrosion can compromise your sprinkler system’s integrity. Regularly inspect components for signs of rust and replace affected parts promptly.
Upgrading Your Sprinkler System
If you’re dealing with recurring leaks, it might be time for an upgrade. Newer sprinkler systems are equipped with advanced features and materials designed to prevent leaks.
For a lush, evenly watered lawn, proper sprinkler head settings are vital. Dive into the steps and tricks shared in How to Adjust Lawn Sprinkler Heads – Expert Advice to ensure a garden that’s both beautiful and sustainable
Conclusion
Congratulations! You’re now armed with the knowledge and expertise needed to tackle sprinkler head leaks head-on. Remember, a leak-free system not only keeps your lawn healthy but also reflects your commitment to responsible water usage.
By incorporating my experiences, expertise, and a dash of DIY spirit, you can maintain a lush, vibrant landscape that brings joy and beauty to your outdoor haven. Happy repairing!
Further Reading
For more detailed information on solving sprinkler head leaks, check out the following resources:
- Leaking Sprinkler Head: Causes and Fixes
- Explore the common causes of leaking sprinkler heads and learn effective solutions to address the issue.
- Sprinkler Head Leaking? Here’s How to Fix It
- Discover step-by-step instructions and expert tips on repairing a leaking sprinkler head and ensuring a well-maintained system.
- How to Fix a Leaking Automatic Sprinkler
- Find out how to troubleshoot and fix leaks in your automatic sprinkler system with comprehensive guidance and practical advice.
FAQs
How do I identify a leaking sprinkler head?
A leaking sprinkler head can often be identified by puddles or moist areas around the base of the head, as well as reduced water pressure in the system.
What are some common causes of sprinkler head leaks?
Common causes include improper installation, freezing temperatures, physical damage, aging components, and shifts in soil density or root growth.
Can I repair a leaking sprinkler head myself?
Yes, many leaks can be repaired as a DIY project. Refer to our DIY Repair Steps section for detailed instructions on fixing common sprinkler head leaks.
What tools do I need for a DIY repair?
You’ll need an adjustable wrench, Teflon tape, a pipe cutter, a shovel, and replacement parts such as sprinkler heads, gaskets, and seals. Refer to the “Essential Tools for Repair” table for a comprehensive list.
How can I prevent future sprinkler head leaks?
Regular maintenance, proper installation, protecting heads from impact, and monitoring soil and root conditions are key to preventing future leaks in your sprinkler system. Refer to our “Preventing Future Leaks” section for more details.

Hi! My name is Hellen James, and I’m here to help you with your home-maintenance needs. Whether it’s building a better yard or just trying to fix a garden—I can show you how.


