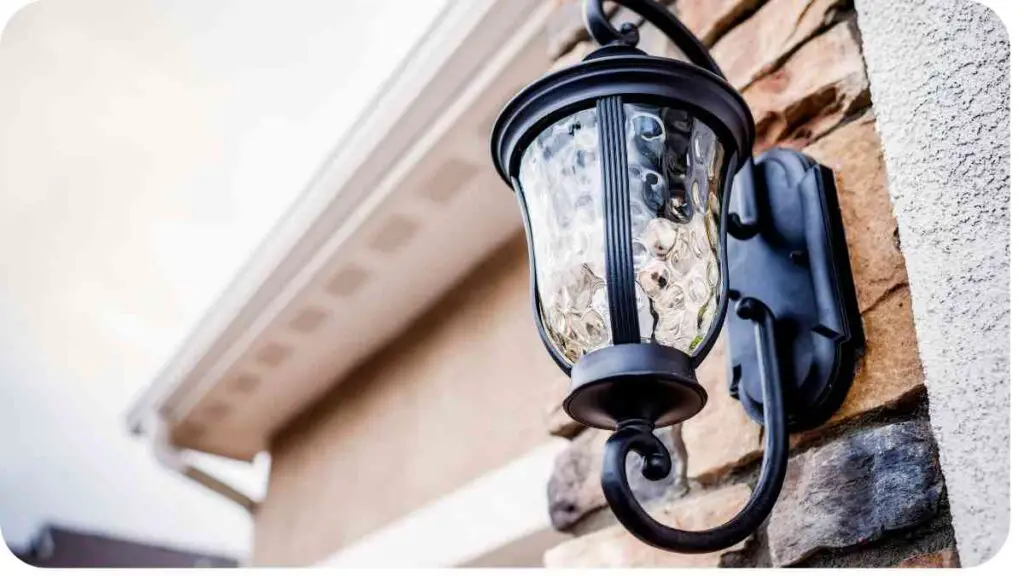
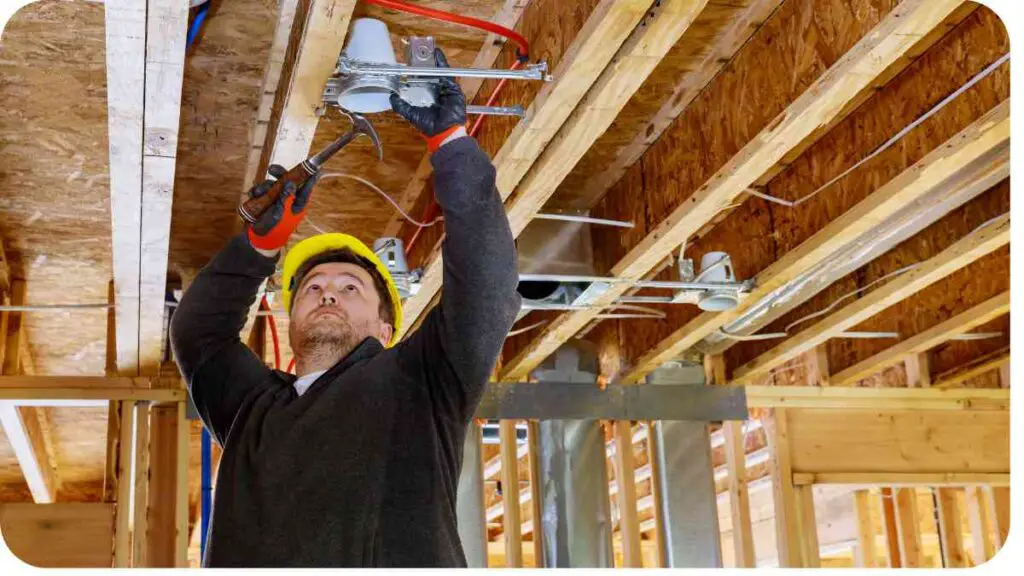
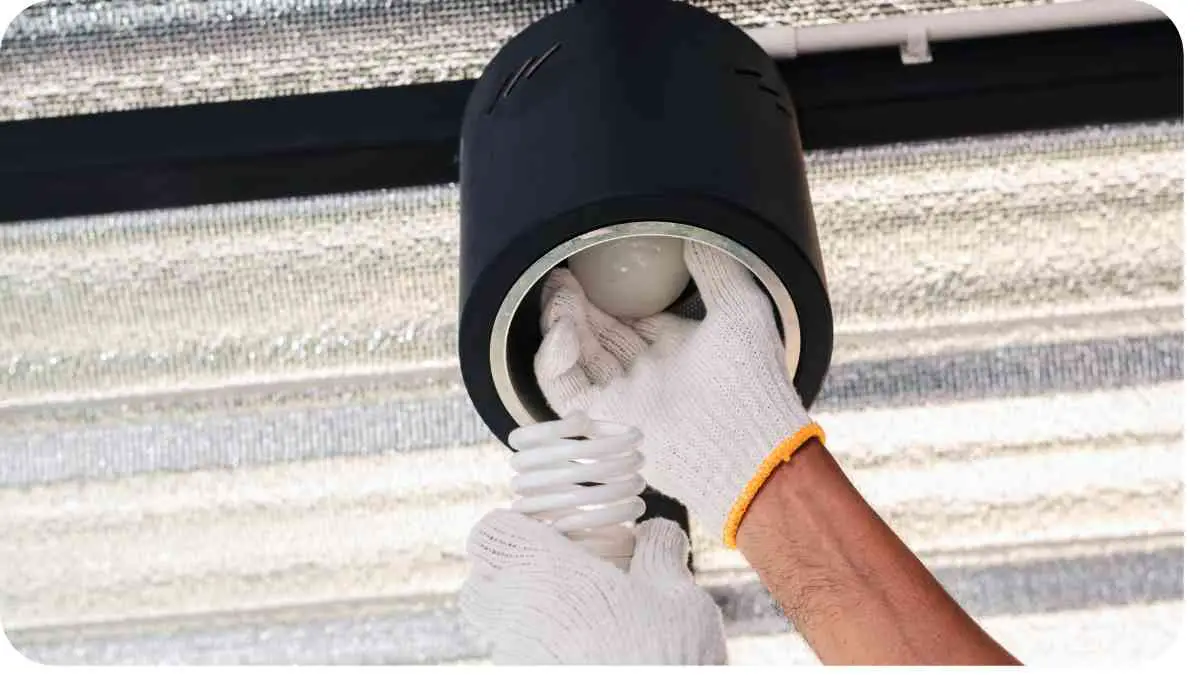
When it comes to outdoor lighting, it not only enhances the aesthetics of your home but also plays a crucial role in ensuring safety and security. However, outdoor light fixtures are exposed to various elements, leading to wear and tear over time. In this comprehensive guide, we’ll discuss safety tips for replacing damaged outdoor light fixtures to ensure a hassle-free process.
| Takeaways |
|---|
| Prioritize safety by turning off power before starting. |
| Gather necessary tools and materials before beginning work. |
| Inspect for signs of damage such as corrosion or cracks. |
| Follow manufacturer instructions for proper installation. |
| Test the new fixture thoroughly before completing the job. |
| Perform regular maintenance to prolong fixture lifespan. |
2. Understanding Outdoor Light Fixtures

Before diving into the replacement process, it’s essential to understand the different types of outdoor light fixtures commonly used. Here’s a table outlining the most common types:
Torn outdoor furniture fabric detracts from the aesthetic appeal and comfort of your outdoor space. Follow a DIY guide to repair and refurbish your furniture for a cozy and inviting outdoor environment.
| Type of Fixture | Description |
|---|---|
| Wall Sconces | Mounted on walls, providing ambient lighting and enhancing aesthetics. |
| Floodlights | Emitting a broad beam of light, ideal for illuminating large areas. |
| Path Lights | Designed to light pathways, driveways, and gardens for safety. |
| Lanterns | Offering a decorative touch, often used for porch or patio lighting. |
| Spotlights | Directional lights used to highlight specific features or areas. |
Understanding the type of fixture you’re dealing with is crucial for a successful replacement process.
3. Signs of Damaged Outdoor Light Fixtures
Identifying signs of damage is the first step in determining whether your outdoor light fixture needs replacement. Here are some common signs to look out for:
Table: Signs of Damaged Outdoor Light Fixtures
| Sign of Damage | Description |
|---|---|
| Corrosion | Rust or corrosion on metal parts indicates water damage. |
| Flickering | Inconsistent or flickering light may indicate wiring issues. |
| Cracks or Breaks | Visible cracks or breaks in the fixture housing require immediate attention. |
| Diminished Brightness | Decreased brightness compared to its original output signifies a problem. |
| Electrical Issues | Sparks, buzzing sounds, or tripped circuits indicate electrical problems. |
If you notice any of these signs, it’s advisable to proceed with replacing the damaged fixture promptly to prevent further complications.
4. Safety Precautions Before Replacement

Safety should always be the top priority when working with electrical fixtures. Here are some essential safety precautions to follow before replacing outdoor light fixtures:
Don’t let rust compromise the functionality of your outdoor tools. Explore maintenance tips to restore and protect your tools for long-term durability and performance in various outdoor tasks.
Table: Safety Precautions Before Replacement
| Safety Precaution | Description |
|---|---|
| Turn Off Power | Locate the circuit breaker or fuse box and turn off the power to the fixture. |
| Use Proper Gear | Wear insulated gloves and safety goggles to protect yourself from electrical hazards. |
| Work in Dry Conditions | Ensure the area is dry before starting the replacement process to avoid accidents. |
| Avoid Overloading Circuits | Do not overload circuits by connecting too many fixtures to a single circuit. |
| Seek Professional Help | If unsure about the replacement process, it’s best to consult a qualified electrician. |
By adhering to these safety precautions, you can minimize the risk of accidents and ensure a safe replacement process.
5. Tools and Materials Needed
Having the right tools and materials is essential for a smooth replacement process. Here’s a list of items you’ll need:
Are your outdoor solar lights failing to charge properly? Discover effective troubleshooting tips to optimize the performance of your solar lighting and illuminate your outdoor space efficiently.
Table: Tools and Materials Needed
| Tool/Material | Description |
|---|---|
| Screwdriver | To remove screws holding the old fixture in place. |
| Wire Cutters | For cutting and stripping electrical wires. |
| Wire Nuts | To secure electrical connections. |
| Voltage Tester | To ensure the power is off before starting work. |
| Replacement Fixture | Choose a suitable replacement fixture based on your preferences. |
| Electrical Tape | For insulating wire connections. |
| Ladder | Depending on the fixture’s height, you may need a ladder to reach it. |
Gathering these tools and materials beforehand will streamline the replacement process and prevent interruptions.
6. Step-by-Step Guide to Replacing Outdoor Light Fixtures
Now that you’re equipped with the necessary tools and materials, let’s walk through the step-by-step process of replacing a damaged outdoor light fixture:
Step 1: Turn Off Power
- Locate the circuit breaker or fuse box and switch off the power to the fixture you’re replacing.
Step 2: Remove Old Fixture
- Use a screwdriver to remove the screws holding the old fixture in place.
- Carefully disconnect the wires from the fixture.
Step 3: Prepare New Fixture
- If necessary, assemble the new fixture according to the manufacturer’s instructions.
- Strip the ends of the wires on the new fixture to prepare for connection.
Step 4: Connect Wires
- Match the wires from the new fixture to the corresponding wires in the electrical box.
- Secure the connections using wire nuts and cover them with electrical tape for added safety.
Step 5: Mount New Fixture
- Position the new fixture over the electrical box and secure it in place using screws.
- Double-check that the fixture is firmly attached and aligned properly.
Step 6: Restore Power and Test
- Turn the power back on at the circuit breaker or fuse box.
- Test the new fixture to ensure it’s functioning correctly by flipping the switch.
By following these steps carefully, you can replace a damaged outdoor light fixture efficiently and safely.
7. Common Mistakes to Avoid
While replacing outdoor light fixtures, it’s essential to avoid common mistakes that could compromise safety or the functionality of the fixture. Here are some pitfalls to steer clear of:
Table: Common Mistakes to Avoid
| Mistake | Description |
|---|---|
| Not Turning Off Power | Failing to shut off the power before beginning work can lead to electrocution. |
| Incorrect Wiring | Connecting wires improperly can result in malfunction or electrical hazards. |
| Overlooking Waterproofing | Neglecting to waterproof connections can lead to corrosion and short circuits. |
| Using Incorrect Fixture | Choosing a fixture that’s not suitable for outdoor use can lead to premature failure. |
| Ignoring Manufacturer Instructions | Disregarding installation guidelines may void warranties or cause damage. |
By being aware of these common mistakes, you can ensure a successful replacement process.
8. Testing the New Fixture

After installing the new outdoor light fixture, it’s crucial to test it thoroughly to confirm proper functionality. Here’s how to test the new fixture:
- Switch On: Turn on the power to the new fixture at the circuit breaker or fuse box.
- Functional Test: Flip the switch to activate the light and observe its performance.
- Check for Issues: Look for any flickering, dimming, or unusual behavior.
- Verify Alignment: Ensure the fixture is properly aligned and illuminating the intended area.
- Inspect Connections: Double-check the wiring connections for any signs of looseness or damage.
- Test Motion Sensors (If Applicable): If the fixture includes motion sensors, test their functionality by moving within the sensor’s range.
- Adjust as Needed: Make any necessary adjustments to the fixture’s position or settings.
By thoroughly testing the new fixture, you can identify and address any issues before finalizing the installation.
9. Final Checks and Adjustments
Before considering the replacement process complete, it’s important to perform final checks and adjustments to ensure everything is in order. Here’s a checklist for your final inspection:
Table: Final Checks and Adjustments Checklist
| Check/Adjustment | Description |
|---|---|
| Tighten Screws | Ensure all screws securing the fixture are tightened securely. |
| Seal Waterproofing | Apply silicone caulk or sealant around connections to prevent water ingress. |
| Adjust Direction | If the fixture is adjustable, adjust the direction of the light as needed. |
| Verify Stability | Shake the fixture gently to confirm it’s stable and securely mounted. |
| Test Switch | Check the light switch to ensure it’s operating smoothly. |
| Clean Fixture | Remove any debris or fingerprints from the fixture for a polished appearance. |
10. Maintenance Tips for Outdoor Light Fixtures
To prolong the lifespan and maintain the performance of your outdoor light fixtures, regular maintenance is essential. Here are some maintenance tips to follow:
Table: Maintenance Tips for Outdoor Light Fixtures
| Maintenance Task | Description |
|---|---|
| Clean Regularly | Remove dirt, debris, and insects from the fixture to prevent buildup. |
| Inspect for Damage | Periodically check for signs of damage such as cracks or corrosion. |
| Replace Bulbs Promptly | Replace burned-out bulbs promptly to maintain consistent illumination. |
| Check Electrical Connections | Ensure wiring connections are tight and free of corrosion or damage. |
| Trim Vegetation | Keep foliage trimmed to prevent it from obstructing the light’s beam. |
11. Conclusion
Replacing damaged outdoor light fixtures is a manageable task that can enhance the safety and aesthetics of your home’s exterior. By following the safety tips, step-by-step guide, and maintenance advice provided in this article, you can tackle the replacement process with confidence.
Remember to prioritize safety at every step, from turning off the power to testing the new fixture. By being mindful of common mistakes and performing thorough checks, you can ensure a successful and long-lasting replacement.
Outdoor lighting not only improves visibility and security but also adds charm and ambiance to your outdoor spaces. With proper maintenance and care, your outdoor light fixtures will continue to illuminate your home for years to come.
12. Frequently Asked Questions (FAQs)
Q: Can I replace an outdoor light fixture myself, or do I need to hire a professional?
A: While replacing an outdoor light fixture is a task that many homeowners can tackle themselves, it’s essential to prioritize safety and follow proper procedures. If you’re unsure about any aspect of the replacement process or encounter any difficulties, it’s best to consult a qualified electrician for assistance.
Q: How often should I replace outdoor light fixtures?
A: The lifespan of outdoor light fixtures can vary depending on factors such as usage, climate, and quality of materials. However, as a general guideline, consider replacing outdoor light fixtures every 5 to 10 years or as needed due to damage or deterioration.
Q: What are some signs that indicate it’s time to replace an outdoor light fixture?
A: Signs of damage such as corrosion, flickering, dimming, cracks, or electrical issues are indicators that it may be time to replace an outdoor light fixture. If you notice any of these signs, it’s advisable to inspect the fixture thoroughly and consider replacement if necessary.
Q: Can outdoor light fixtures be installed in any weather conditions?
A: Outdoor light fixtures should ideally be installed in dry weather conditions to prevent electrical hazards and ensure proper sealing of connections. If you must install a fixture in wet conditions, take extra precautions to protect yourself and the electrical components from moisture.
Further Reading
- How to Change an Outdoor Light Fixture: This comprehensive guide provides step-by-step instructions for replacing outdoor light fixtures, covering safety precautions, tools needed, and the installation process.
- Replacing an Outdoor Light Fixture: A Girl’s Guide to Home DIY: Written from a DIY perspective, this article offers practical tips and insights for replacing outdoor light fixtures, with a focus on simplicity and affordability.
- Outdoor Lighting Maintenance Tips: Learn how to maintain your outdoor lighting fixtures to ensure optimal performance and longevity. This resource covers cleaning, inspection, and other maintenance tasks to keep your outdoor lights shining bright.
FAQs
Q: Can I replace an outdoor light fixture myself, or do I need to hire a professional?
A: While replacing an outdoor light fixture is a task that many homeowners can tackle themselves, it’s essential to prioritize safety and follow proper procedures. If you’re unsure about any aspect of the replacement process or encounter any difficulties, it’s best to consult a qualified electrician for assistance.
Q: How often should I replace outdoor light fixtures?
A: The lifespan of outdoor light fixtures can vary depending on factors such as usage, climate, and quality of materials. However, as a general guideline, consider replacing outdoor light fixtures every 5 to 10 years or as needed due to damage or deterioration.
Q: What are some signs that indicate it’s time to replace an outdoor light fixture?
A: Signs of damage such as corrosion, flickering, dimming, cracks, or electrical issues are indicators that it may be time to replace an outdoor light fixture. If you notice any of these signs, it’s advisable to inspect the fixture thoroughly and consider replacement if necessary.
Q: Can outdoor light fixtures be installed in any weather conditions?
A: Outdoor light fixtures should ideally be installed in dry weather conditions to prevent electrical hazards and ensure proper sealing of connections. If you must install a fixture in wet conditions, take extra precautions to protect yourself and the electrical components from moisture.
Q: What tools do I need to replace an outdoor light fixture?
A: The tools needed to replace an outdoor light fixture typically include a screwdriver, wire cutters, wire nuts, voltage tester, ladder, and possibly electrical tape. Ensure you have the necessary tools on hand before beginning the replacement process.

Hi! My name is Hellen James, and I’m here to help you with your home-maintenance needs. Whether it’s building a better yard or just trying to fix a garden—I can show you how.


