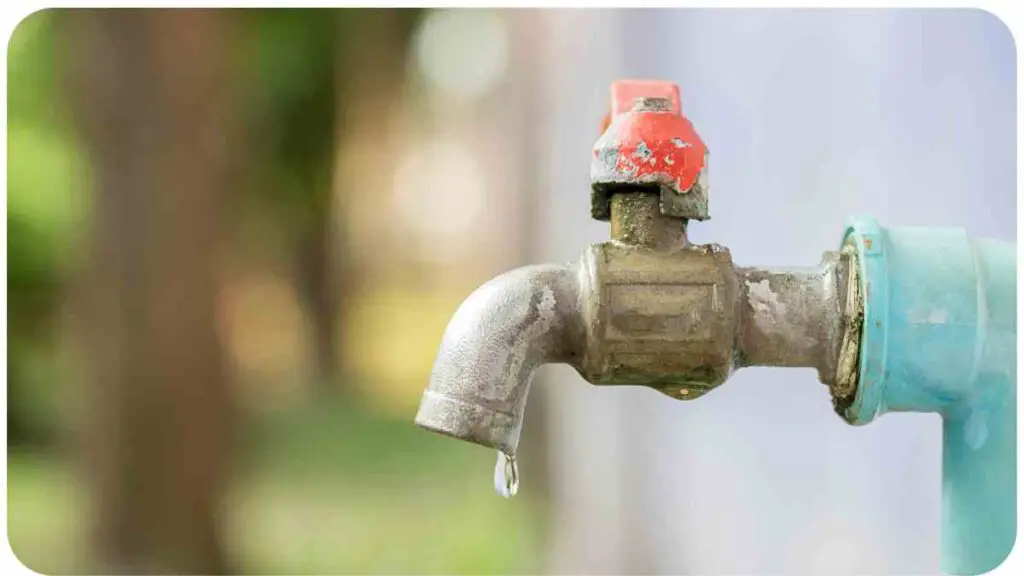
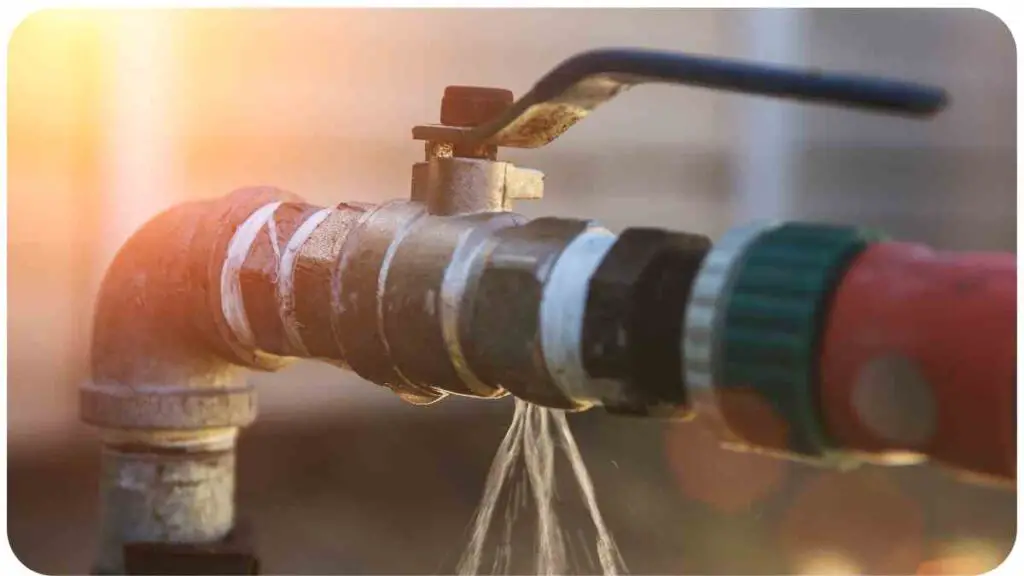
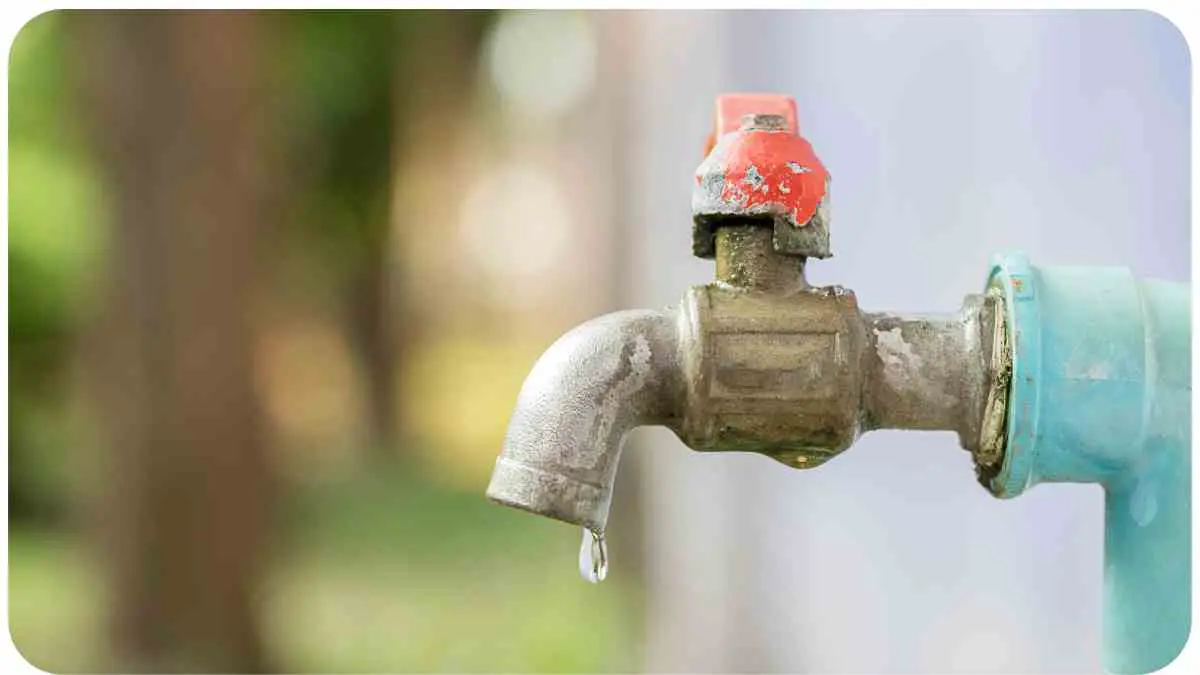
Welcome to a comprehensive guide on resolving the pesky issue of a dripping outdoor faucet. As a seasoned DIY enthusiast and professional in plumbing, I’m excited to share my expertise and experiences with you.
In this guide, we will navigate through the steps of diagnosing, troubleshooting, and repairing a dripping outdoor faucet, ensuring that you can tackle this common household annoyance with confidence. So, grab your toolkit and let’s get started!
| Takeaways |
|---|
| Fixing a dripping outdoor faucet is a manageable DIY task that can save you water and money. |
| Understanding the components of an outdoor faucet helps you diagnose and address the source of the leak. |
| Different types of faucets require specific repair approaches, such as washer replacement or valve seat resurfacing. |
| Regular maintenance and inspection can prevent future leaks and extend the lifespan of your faucet. |
| Knowing when to call a professional plumber can save you time and ensure a proper fix. |
Understanding the Anatomy of an Outdoor Faucet

Before we dive into the repair process, let’s take a moment to understand the components of an outdoor faucet. This knowledge will be crucial as we troubleshoot and diagnose the issue later on.
An outdoor faucet typically consists of several key parts, including:
- Handle: The lever you turn to open and close the water flow.
- Valve Stem: Extends from the handle and controls the water flow.
- Packing Nut: Secures the valve stem and prevents leaks.
- Washer: Located at the end of the valve stem, it forms a seal to stop water flow.
- Spout: The nozzle where the water flows out.
- Pipe: Connects the faucet to the water supply.
Now that we have a grasp of the basic components, let’s move on to the practical aspects of repairing a dripping outdoor faucet.
Artificial turf is becoming popular for its low-maintenance nature. To explore this option, check out replace grass with Astro Turf. It’s a practical choice for modern outdoor spaces.
Tools and Materials You’ll Need
To effectively repair your outdoor faucet, having the right tools and materials is crucial. Here’s a list of what you’ll need:
| Tools | Materials |
| Adjustable wrenches | Replacement washers |
| Screwdrivers | Packing material |
| Pipe wrench | Teflon tape |
| Pliers | Lubricating oil |
| Pipe cutter | Epoxy putty |
Now, let’s roll up our sleeves and assess the dripping faucet.
Assessing the Dripping Faucet
Dripping faucets can have various causes, each requiring a different approach to repair. Here’s a table outlining some common causes and solutions:
| Cause of Drip | Possible Solution |
| Worn-out washer | Replace the washer |
| Loose packing nut | Tighten or replace the packing nut |
| Damaged valve seat | Resurface or replace the valve seat |
| Cracked pipe or fittings | Repair or replace the affected components |
| Corroded spout or handle | Replace the spout or handle |
Remember, accurate diagnosis is key to efficient repair. Now, let’s delve into the step-by-step process of fixing that pesky drip.
Maintaining the pristine look of your outdoor space involves regular cleaning. Learn the best practices in cleaning artificial grass. Follow these steps for a lush and spotless lawn.
Step-by-Step Guide to Repairing a Dripping Outdoor Faucet
Repairing a dripping outdoor faucet may seem daunting, but armed with the right knowledge, it’s a manageable task. Follow these steps to get your faucet back in top shape:
- Turn Off the Water Supply: Before starting any repair work, ensure the water supply to the faucet is turned off to avoid any accidents.
- Remove the Faucet Handle: Use the appropriate wrench to remove the handle. This will give you access to the valve stem and washer.
- Inspect the Washer: Examine the washer at the end of the valve stem. If it’s worn, cracked, or damaged, it’s likely the cause of the leak. Replace it with a matching washer.
- Check the Valve Seat: A damaged valve seat can also lead to leaks. Use a valve seat wrench to remove and resurface the seat if needed. Alternatively, replace it if the damage is severe.
- Replace the Packing Material: If your faucet has a packing nut, replace the old packing material with new material. This will ensure a snug fit and prevent leaks.
- Apply Teflon Tape: When reassembling the faucet, wrap Teflon tape around the threads to create a watertight seal. This is especially important for threaded connections.
- Reassemble the Faucet: Put the faucet handle back in place and secure it with the wrench. Make sure it’s not too tight to prevent straining the components.
- Turn On the Water Supply: Slowly turn on the water supply to check for leaks. If you’ve followed the steps correctly, the drip should be gone.
Replacing the Faucet Washer
The washer is a common culprit in outdoor faucet leaks. Different types of faucets require different washers. Here’s a table to guide you:
| Faucet Model | Washer Type |
| Compression | Flat rubber washer |
| Cartridge | Cartridge washer |
| Ball | Ball faucet kit |
Replacing the washer involves similar steps to the general repair process. By following these steps and choosing the correct washer, you can stop that annoying drip for good.
After a rainy spell, it’s crucial to prevent moisture-related issues. Discover effective techniques to dry out artificial grass quickly and ensure a durable and appealing landscape.
Fixing a Leaky Faucet Handle
A leaky faucet handle can waste water and cause frustration. Here’s a table with common faucet handle types and solutions:
| Faucet Handle Type | Solution |
| Knob | Tighten or replace the handle |
| Lever | Adjust or replace the cartridge |
| Cross | Tighten packing nut or replace cartridge |
Fixing a leaky handle is often simpler than you might think. With the right tools and know-how, you’ll have it sorted in no time.
Repairing a Cracked Faucet Pipe
A cracked pipe can lead to significant water wastage. Here’s a comparison table of pipe repair methods:
| Repair Method | Pros | Cons |
| Pipe clamp | Quick and temporary fix | Not suitable for large cracks |
| Epoxy putty | Effective for small cracks | May not work on high-pressure pipes |
| Pipe replacement | Permanent solution | Requires advanced plumbing skills |
Dealing with a Leaking Faucet Spout
A leaking spout can be a nuisance. Here’s a table to help you troubleshoot the issue:
| Spout Leak Cause | Solution |
| Worn-out O-rings | Replace the O-rings |
| Loose connections | Tighten the connections |
| Corroded parts | Replace the corroded components |
With a little detective work and the right tools, you can bid farewell to that drip from the spout.
Preventing Future Faucet Leaks

Now that you’ve successfully repaired your dripping outdoor faucet, it’s time to discuss how to prevent future leaks. Regular maintenance is key to extending the life of your faucet. Here’s a maintenance schedule to follow:
| Maintenance Task | Frequency |
| Check for leaks | Monthly |
| Inspect handles and knobs | Quarterly |
| Lubricate moving parts | Twice a year |
| Winterize outdoor faucets | Annually before freezing weather |
When to Call a Professional
While DIY repairs can save you money, some situations warrant professional intervention. Call a plumber if:
- You’re unable to diagnose the issue accurately.
- The repair requires specialized tools or skills.
- The leak persists after attempting repairs.
Transform your outdoor space with a lush and vibrant touch. Learn how to install a green artificial grass rug easily, bringing a refreshing change to your garden or patio.
DIY vs. Professional Repairs
Deciding whether to tackle a repair yourself or call a professional can be tricky. Here’s a comparison table to help you decide:
| Aspect | DIY Repair | Professional Repair |
| Cost | Low | Higher, includes labor |
| Time | More time-consuming | Quicker |
| Skill level | Basic plumbing skills needed | Expertise required |
| Risk | Potential for mistakes | Professional expertise |
Tips for Maintaining a Well-Functioning Outdoor Faucet
Maintaining your outdoor faucet doesn’t have to be a daunting task. Here are some dos and don’ts to keep in mind:
| Dos | Don’ts |
| Regularly inspect for leaks | Ignore small drips |
| Keep handles and knobs tight | Forcefully turn a stuck handle |
| Lubricate moving parts | Over-tighten connections |
| Use Teflon tape on threads | Neglect winterizing in cold climates |
Real-Life Examples of Successful Faucet Repairs
Let’s hear from DIY enthusiasts who successfully repaired their outdoor faucets:
- Samantha: “I noticed my outdoor faucet was leaking. Thanks to the guide’s step-by-step instructions and the table comparing different washer types, I was able to replace the washer and fix the leak in no time.”
- Jake: “My faucet handle was dripping. The detailed table about different handle types and solutions helped me identify the problem – a loose packing nut. A quick tighten, and the leak was gone!”
An efficiently functioning irrigation system is essential for a healthy outdoor environment. Get insights into tackling issues with your system in this guide on troubleshooting irrigation system problems. Keep your landscape thriving and green.
Conclusion
Congratulations! You’ve now mastered the art of repairing a dripping outdoor faucet. With the insights, tables, and practical advice shared in this article, you’re equipped to confidently tackle faucet leaks, saving water, money, and the frustration of that constant drip.
Remember, each repair is an opportunity to learn and grow as a DIY enthusiast. So, go ahead and put your newfound knowledge to good use – your well-functioning outdoor faucet awaits!
Further Reading
For more in-depth information and insights on repairing a dripping outdoor faucet, consider exploring the following resources:
Swan Hose – How to Fix a Leaky Outdoor Faucet A detailed guide from Swan Hose that provides step-by-step instructions and visual aids for fixing a leaky outdoor faucet.
FOX59 – Quick Fixes for a Leaky Outdoor Faucet This article on FOX59 offers four quick and effective solutions for tackling a leaky outdoor faucet.
Family Handyman – How to Fix a Leaky Faucet The Family Handyman presents a comprehensive guide on fixing various types of leaky faucets, including frost-proof faucets.
These resources complement the knowledge shared in this article, providing additional perspectives and insights to assist you in your faucet repair journey.
FAQs
How can I tell if my outdoor faucet is leaking?
A leaking outdoor faucet is often indicated by a constant drip or pooling of water around the faucet even when it’s turned off.
Can I use regular plumbing tape to fix a leaking faucet?
Yes, you can use Teflon tape (also known as plumber’s tape) to create a watertight seal on threaded connections, helping to prevent leaks.
What if my outdoor faucet is leaking from the handle?
Leaking from the handle could be due to a loose packing nut or a worn-out cartridge. Tightening the nut or replacing the cartridge should solve the issue.
Is it worth repairing an old outdoor faucet, or should I replace it?
Whether to repair or replace depends on the extent of the damage and the age of the faucet. In some cases, a simple repair can extend the faucet’s life, but if it’s too old or extensively damaged, replacement might be a better option.
Can a dripping outdoor faucet lead to higher water bills?
Yes, even a small drip can add up over time and contribute to higher water bills. Fixing leaks promptly is not only eco-friendly but also cost-effective.

Hi! My name is Hellen James, and I’m here to help you with your home-maintenance needs. Whether it’s building a better yard or just trying to fix a garden—I can show you how.


