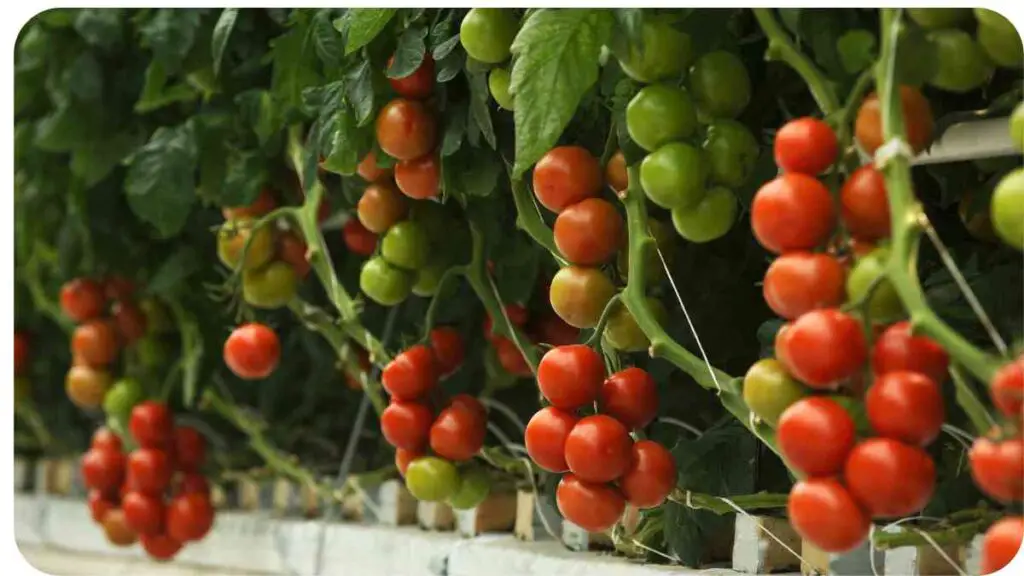
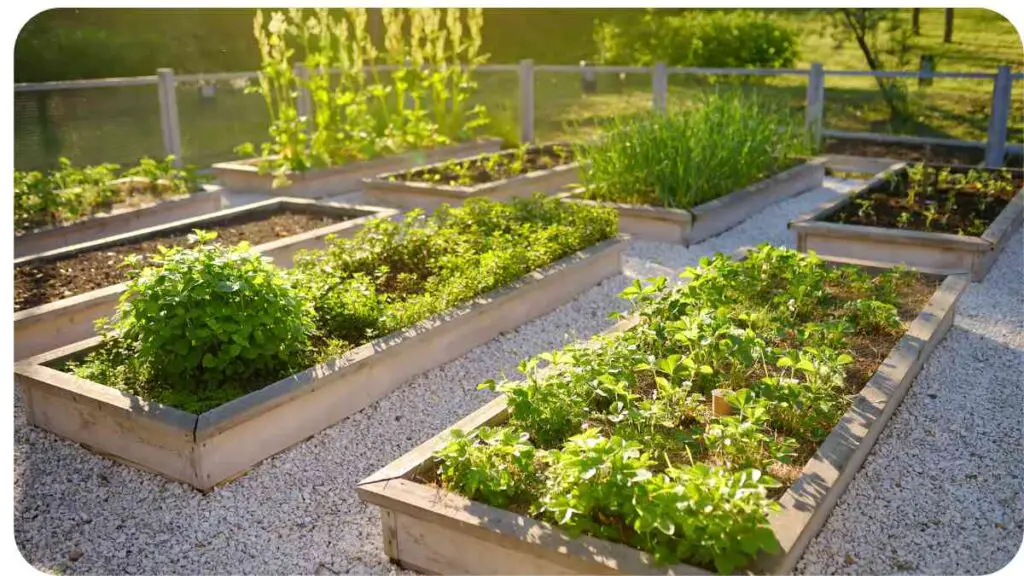
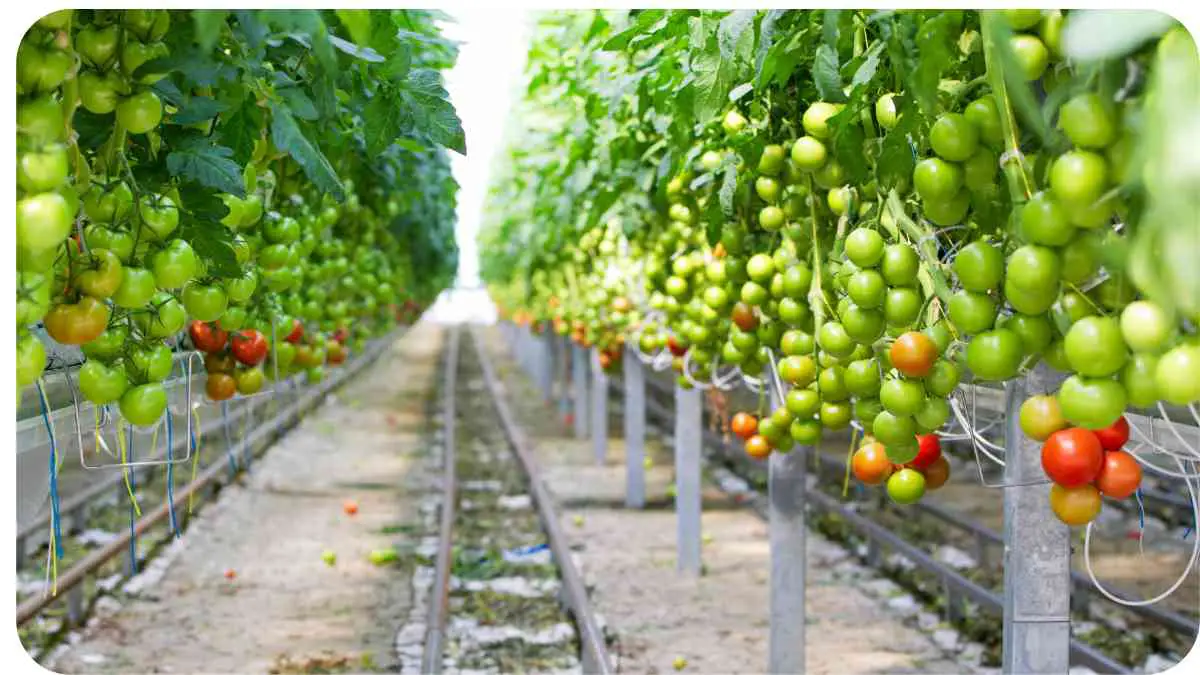
Embarking on a journey to cultivate your tomatoes hydroponically is a rewarding endeavor. This guide offers a step-by-step walkthrough, ensuring a successful hydroponic system for your tomatoes.
Discover the benefits, optimal conditions, and practical tips for a thriving harvest, all while optimizing for efficient water use and enhanced flavor.
| Takeaway |
|---|
| Hydroponic systems are an excellent way to grow tomatoes indoors or in small spaces. |
| DWC, rain tower, and bucket hydroponic systems are all excellent options for growing hydroponic tomatoes. |
| Hydroponic systems require less water than traditional soil-based growing, making them more efficient and environmentally friendly. |
| Tomatoes grown hydroponically can be healthier and more flavorful than those grown in traditional soil. |
| Hydroponic systems may require more upfront cost, but can ultimately save money by producing higher yields of tomatoes. |
Building a Solid Foundation
The foundation of your hydroponic setup is crucial, providing essential support for your plants. A robust base must endure the weight of water, nutrients, and your thriving tomato crop.
Concrete Blocks
Concrete blocks offer durability and level support for your hydroponic system. While sturdy, they may pose challenges if adjustments are necessary.
Utilizing Wood
Repurposed wood, such as pallet boards or plywood sheets, offers an alternative base option. Ensure the wood’s strength can withstand the demands of your hydroponic endeavor without succumbing to pressure.
Selecting the appropriate base sets the stage for a successful hydroponic venture, ensuring stability and longevity for your tomato plants.
Hydroponic systems are an excellent option for growing plants indoors or in small spaces without soil. If you’re interested in building a DWC hydroponic system, our guide on how to build a DWC hydroponic system is an excellent resource to get started. It covers everything you need to know, from the materials you’ll need to the step-by-step instructions for building your system.
Constructing the Framework
With the necessary measurements in hand, it’s time to assemble the frame, a critical component of your hydroponic system. Two primary methods, using 2x4s or PVC pipes, offer distinct advantages.
PVC Pipe Framework
Opting for PVC pipes is recommended for ease of customization and component integration. Cut them into pieces based on your design, allowing flexibility in shaping your hydroponic system.
2×4 Box Design
If using 2x4s, create a rectangular frame, ensuring the top level is slightly elevated to prevent water spillage. Precision is key; verify squareness by measuring and adjusting any discrepancies between corners.
Ensuring Structural Integrity
Mark the points for screws or nails at each joint to fortify the frame’s stability over the years. Attention to detail during this step ensures a resilient structure capable of supporting your hydroponic endeavors.
Embark on the construction of a well-designed frame, laying the foundation for a robust hydroponic system that accommodates plant supports and other essential components seamlessly.
Preparing the Frame for Sturdy Integration
To ensure the stability of your hydroponic system, meticulous preparation of the frame is essential.
Confirming Squareness
- Utilize a framing square to verify the squareness of your frame.
- Employ a speed square to check that the lumber maintains a precise 90-degree alignment.
Precision Drilling
- Drill 1/4-inch pilot holes for each screw to facilitate seamless assembly.
- Choose a drill bit slightly smaller than the screw diameter; measure it if needed.
Optimal Techniques for Drilling
- If available, a drill press streamlines the process, ensuring accuracy.
- Alternatively, utilize an electric hand drill by clamping down the workpiece. Rotate it gradually while driving in screws until they are securely tight.
A rain tower vertical hydroponic system is a unique way to grow plants without soil. If you’re interested in trying this innovative hydroponic system, our guide on how to build a rain tower vertical hydroponic system is a must-read. It provides a detailed tutorial on building your own rain tower, as well as tips for choosing the right plants and maintaining your system.
Precision Crafting and Attachment
Crafting the lumber to fit seamlessly into your hydroponic system is a crucial step in ensuring its efficiency and structural integrity.
Cutting with Precision
- Employ a circular saw to cut the lumber to the required size.
- Prioritize accuracy to guarantee each piece fits seamlessly into the overall design.
Secure Attachment
- Utilize deck screws to firmly attach each piece of lumber to the frame.
- The frame acts as a secure anchor, providing stability for your tomato plants.
Ensuring Evenness
- Prior to cutting and attaching, measure each piece meticulously.
- Maintain even sides to prevent any imbalance that could compromise proper drainage and potentially lead to water leakage.
Crafting an Appealing Access Point

The access door, a visible aspect of your hydroponic system’s completion, demands thoughtful design and functionality.
Aesthetic Considerations
- Design an access door with aesthetic appeal, avoiding a stark appearance reminiscent of a fallout shelter.
- Prioritize an attractive design that seamlessly integrates with your surroundings.
Non-Disruptive Accessibility
- Opt for a door design that can be removed without disturbing the rest of your garden or necessitating plant cutting.
Materials Needed
- Gather plywood, hinges, screws, and lockset hardware (or chosen latch type).
Precise Dimensioning
- Measure your frame’s dimensions using a tape measure and pencil.
- Cut two plywood pieces with a jigsaw or circular saw, ensuring they fit snugly side by side without overlapping, providing an extra sturdy frame.
Sturdy Construction
- Assemble the frames tightly to guarantee structural integrity.
- Securely screw them together to withstand water pressure during operation.
Hydroponic garden towers are excellent for growing a variety of herbs and vegetables indoors or outdoors. If you’d like to build your own hydroponic garden tower, our guide on how to build a hydroponic garden tower is a fantastic resource. It includes step-by-step instructions on building a tower, as well as tips for choosing the right plants and maintaining your system.
Creating a Trench for Tubing
The trenching process is a crucial step in preparing your hydroponic system for efficient water distribution.
Strategic Trenching
- Precisely plan the pipe placement before initiating the digging process.
Delicate Excavation
- Utilize a shovel or post hole digger to cut a channel in the soil.
- Ensure the channel is as wide and deep as required to bury the tubing.
Depth Consideration
- The depth of the trench depends on the water’s height from ground level.
- Adjust the depth accordingly to accommodate the tubing securely.
Weed Prevention
- Consider laying landscape cloth under your garden during this step to prevent weed growth.
Operational Verification
- Prioritize testing the hydroponic system by running water through it at full pressure before planting.
Implementing Water Lines and Electrical Connections
Installing water lines and ensuring a steady power supply are crucial steps in the functionality of your hydroponic system.
Water Line Installation
- Utilize a PVC pipe for the water line, opting for plastic to prevent leakage.
- Drill holes in the PVC pipe using an electric drill.
- Insert the pipe into the soil until it reaches the end of the container, ensuring a leak-free system.
Electrical Wiring for Grow Lights
- Run an electrical wire from your grow light system to ensure constant power supply.
- This constant power supply is essential for the grow lights to emit heat consistently.
Installation Guidelines
- PVC Pipe: Drill holes with an electric drill, ensuring precision to avoid leaks.
- Electrical Wiring: Lay out the wire systematically, securing it for consistent power distribution.
Wireless Hydroponic System Installation
- If opting for a wireless hydroponic system, follow a comprehensive guide.
- Seek guidance on essential considerations and tips for successful installation at home.
Hydroponic bucket systems are an excellent growing option for beginners who want to experiment with hydroponic growing. Our guide on how to build a hydroponic bucket system is an excellent resource for getting started. It covers everything from choosing the right materials to setting up your system.
Organizing with Garden Bed Markers

Efficiently organizing your garden beds is key to a successful hydroponic venture. Follow these steps for seamless plant identification.
Stake Selection
- Choose wooden or wire fencing stakes for marking plants.
- Optimal for their cost-effectiveness and widespread availability.
Affordable and Reusable
- Emphasize the affordability and reusability of chosen materials.
- Wooden and wire fencing stakes can be repurposed if not utilized later on.
Individual Crop Marking
- Assign a stake to each crop to prevent mix-ups within the system.
- Prioritize clarity by marking each vegetable with bright colors for visibility.
Permanent Marking
- Use permanent markers to avoid smudging over time.
- Ensure a neat and enduring labeling system for ongoing organization.
Visual Appeal
- Enhance visual appeal by using bright colors against the natural background.
- This not only aids in identification but also contributes to an aesthetically pleasing garden.
Using Markers in Garden Beds
| Step | Description |
|---|---|
| 1 | Choose a type of marker, such as wooden stakes or plastic labels. |
| 2 | Write the name of the plant or vegetable on the marker with a waterproof pen or marker. |
| 3 | Insert the marker into the soil next to the corresponding plant. |
| 4 | Make sure the marker is visible and secure. |
| 5 | Regularly check the markers to ensure they are still in place and legible. |
Securing Garden Bed Bases for Stability
Ensuring the stability of your garden bed bases is crucial for the overall integrity of your hydroponic system. Follow these steps for a secure attachment.
Attachment Process
- Utilize a drill to attach the garden bed bases to the lumber frame securely.
Leveling Check
- Employ a level to guarantee uniformity among all four garden bed bases.
- Confirm that they are level not only with each other but also with the ground.
Caution with Tightening
- Exercise caution while tightening screws to avoid damage.
- Avoid over-tightening, as excessive force can compromise the integrity of the lumber frame base.
Screw Length Consideration
- Choose screws of adequate length to penetrate both the garden bed base and the lumber frame material.
- Verify that the screws are long enough, especially when dealing with wood materials.
If you’re interested in adding some festive flair to your garden this year, then check out our guide on the top 10 Christmas plants to add to your garden. From poinsettias to holly, this guide includes a variety of Christmas plants that are sure to make your garden festive and fun.
Securing Grow Beds for Optimal Support

Ensuring the stability and attachment of grow beds to garden beds is crucial for the success of your hydroponic system. Follow these steps for a secure installation.
Drill Holes for Attachment
- Utilize a drill bit matching the screw head size to drill holes into the sides of your grow bed.
- This prepares the grow bed for attachment to the garden bed using deck screws.
Caution with Tightening
- Exercise caution while tightening screws to avoid potential damage.
- Avoid over-tightening, as excessive force can lead to wood damage or cracking.
Considerations for Maintenance
- Anticipate future maintenance by avoiding over-tightening.
- This precaution prevents potential difficulties when loosening screws during later cleaning or maintenance activities.
Attaching Grow Beds to Garden Beds
| Step | Description |
|---|---|
| 1 | Use a drill bit that is the same size as the screw head. |
| 2 | Drill holes into the sides of your grow bed. |
| 3 | Position the grow bed on top of the garden bed. |
| 4 | Insert screws through the holes in the grow bed and into the garden bed. |
| 5 | Tighten the screws securely to attach the grow bed to the garden bed. |
Conclusion
Embarking on the journey to construct your hydroponic system for tomatoes is a rewarding endeavor, offering numerous benefits. The key lies not only in selecting the right materials but also in the meticulous assembly process, influencing the ultimate quality of your harvest.
Essential Considerations
- Material Selection: Choose wisely, considering durability and functionality.
- Assembly Precision: Pay close attention to the details, ensuring a well-constructed system.
Guiding Wisdom
- Patience is Key: Take your time throughout the process; rushing may lead to oversights.
- Thoughtful Approach: Carefully contemplate each step, understanding its impact on the final product.
Embark on this hydroponic journey with patience and mindfulness, and you’ll reap the rewards of homegrown, flavorful tomatoes. This guide equips you with the knowledge to create a thriving hydroponic system that enhances both sustainability and taste. Happy growing!
Further Reading
Here are some additional resources on growing hydroponic tomatoes:
Ponics Area: How to Grow Hydroponic Tomatoes – This guide covers everything you need to know about hydroponic tomato growing, from choosing the right seeds to maintaining your plants. It also includes tips on how to maximize your tomato yield.
Wikihow: How to Grow Hydroponic Tomatoes – This article provides step-by-step instructions for growing hydroponic tomatoes. It also covers important topics like lighting, pH levels, and nutrient requirements.
Instructables: Easily Grow Hydroponic Tomatoes Inside or Outside – This guide on Instructables walks you through the process of growing hydroponic tomatoes indoors or outdoors. It includes photos, detailed instructions, and helpful tips.
FAQs
What are the benefits of growing hydroponic tomatoes?
Hydroponic tomato growing offers several advantages over traditional soil-based growing. These include faster growth, higher yields, and the ability to grow crops in limited space.
What is the best hydroponic system for growing tomatoes?
There are several types of hydroponic systems that can be used for growing tomatoes, including deep water culture systems, nutrient film technique systems, and drip irrigation systems. The best type of hydroponic system for your tomatoes will depend on your individual growing needs and preferences.
What are the ideal conditions for growing hydroponic tomatoes?
Tomatoes grow best in warm, sunny conditions with plenty of bright, indirect light. They also require a pH range of 5.5 to 6.5 and consistent access to water and nutrients.
What are the common problems when growing hydroponic tomatoes?
Common problems when growing hydroponic tomatoes include nutrient deficiencies, pest infestations, and environmental stressors. To prevent these issues, it’s important to monitor your plants regularly and make adjustments as needed.
How often should I change the water in my hydroponic tomato system?
It’s recommended that you change the water in your hydroponic system every 1-2 weeks to prevent the buildup of bacteria and algae. However, if you’re using a continuous flow or drip irrigation system, you may not need to change the water as frequently.

Hi! My name is Hellen James, and I’m here to help you with your home-maintenance needs. Whether it’s building a better yard or just trying to fix a garden—I can show you how.


